
The magnificent Lion Rampant is back! Daniel Mersey returns to one of our most popular Osprey Wargames with Lion Rampant: Second Edition, featuring updated rules and all-new content. Whether you’re new to the game or want a refresher ahead of the release on August 4th, this guide will give you a taste of Lion Rampant’s celebrated games system.
Lion Rampant puts you in the role of a local garrison commander in the Dark Ages or medieval world, tasked with carrying out duties such as guarding strategic locations, tax collection, escorting wagons, and patrolling your borders. The sixteen scenarios provided in the Second Edition will help you develop a compelling and cinematic narrative, from the straightforward battle of ‘Bloodbath’ to the daring rescue of ‘The Fugitive’. Each of the scenarios offers a defined end point to the game, which is usually based on achieving an objective rather than playing for a set number of turns (I’m not a fan of wargames where the battle frustratingly hangs in the balance at the end of the final turn without a definite outcome).
From the beginning, I set out to create a ‘historically themed’ game focusing on scenarios rather than a full-on simulation of all-out battle. Simplicity has always been my goal: not to the point of over-simplification or a lack of tactical challenge, but enough that the game could be played with minimal reference to the rulebook.
Your army, or your Warband to use Lion Rampant’s terminology, consists of around six units, each with their own battlefield functions. Each unit will have 6–12 models in them, so your Warband will average out at around 40–70 models in total. The models then come in eleven troop types:
Mounted: Elite Cavalry, Heavy Cavalry, Light Cavalry
Foot: Elite Infantry, Heavy infantry, Warrior Infantry, Light Infantry, Levied Infantry
Missile: Archers, Crossbowmen, Skirmishers
When I first designed the rules, I thought long and hard about whether to use fixed size units, and came to the conclusion that a lot of rules mechanisms could be kept uncluttered by doing so. As a consequence, models are removed individually as casualties are taken, and the number of remaining models in a unit reflects its morale and fighting ability at a glance.
Some units are better at certain commands than others, so you’ll want to field a Warband well-suited to the scenario you’re playing rather than simply fielding as many mounted knights or Viking Huscarls as you can paint. For example, playing Warband-sized scenarios means that there is a role for lightly armed but fast-moving units in Lion Rampant. Though they’re rarely able to stand up to heavily armoured enemies, some scenarios require rapid movement to capture objectives or escort characters across the tabletop before your opponent corners you.
Warbands are points-based, but hopefully not in a way that will make your brain hurt. The points system is there to ensure that you have a broadly balanced army to fight with. That said, if you play the scenarios included in the book, you’ll probably elect to raise a balanced Warband anyway. Sometimes you’ll find that the 6 points you spend on a unit of Elite Cavalry is 6 points well used (when they trample over your opponent’s crossbowmen) and at other times that you should have purchased something else (such as when they ride away from the convoy they should be guarding, to chase whatever enemies they can see). So, it’s wise to take mounted and foot units that can perform a variety of tasks, not just grind their enemies into the ground.
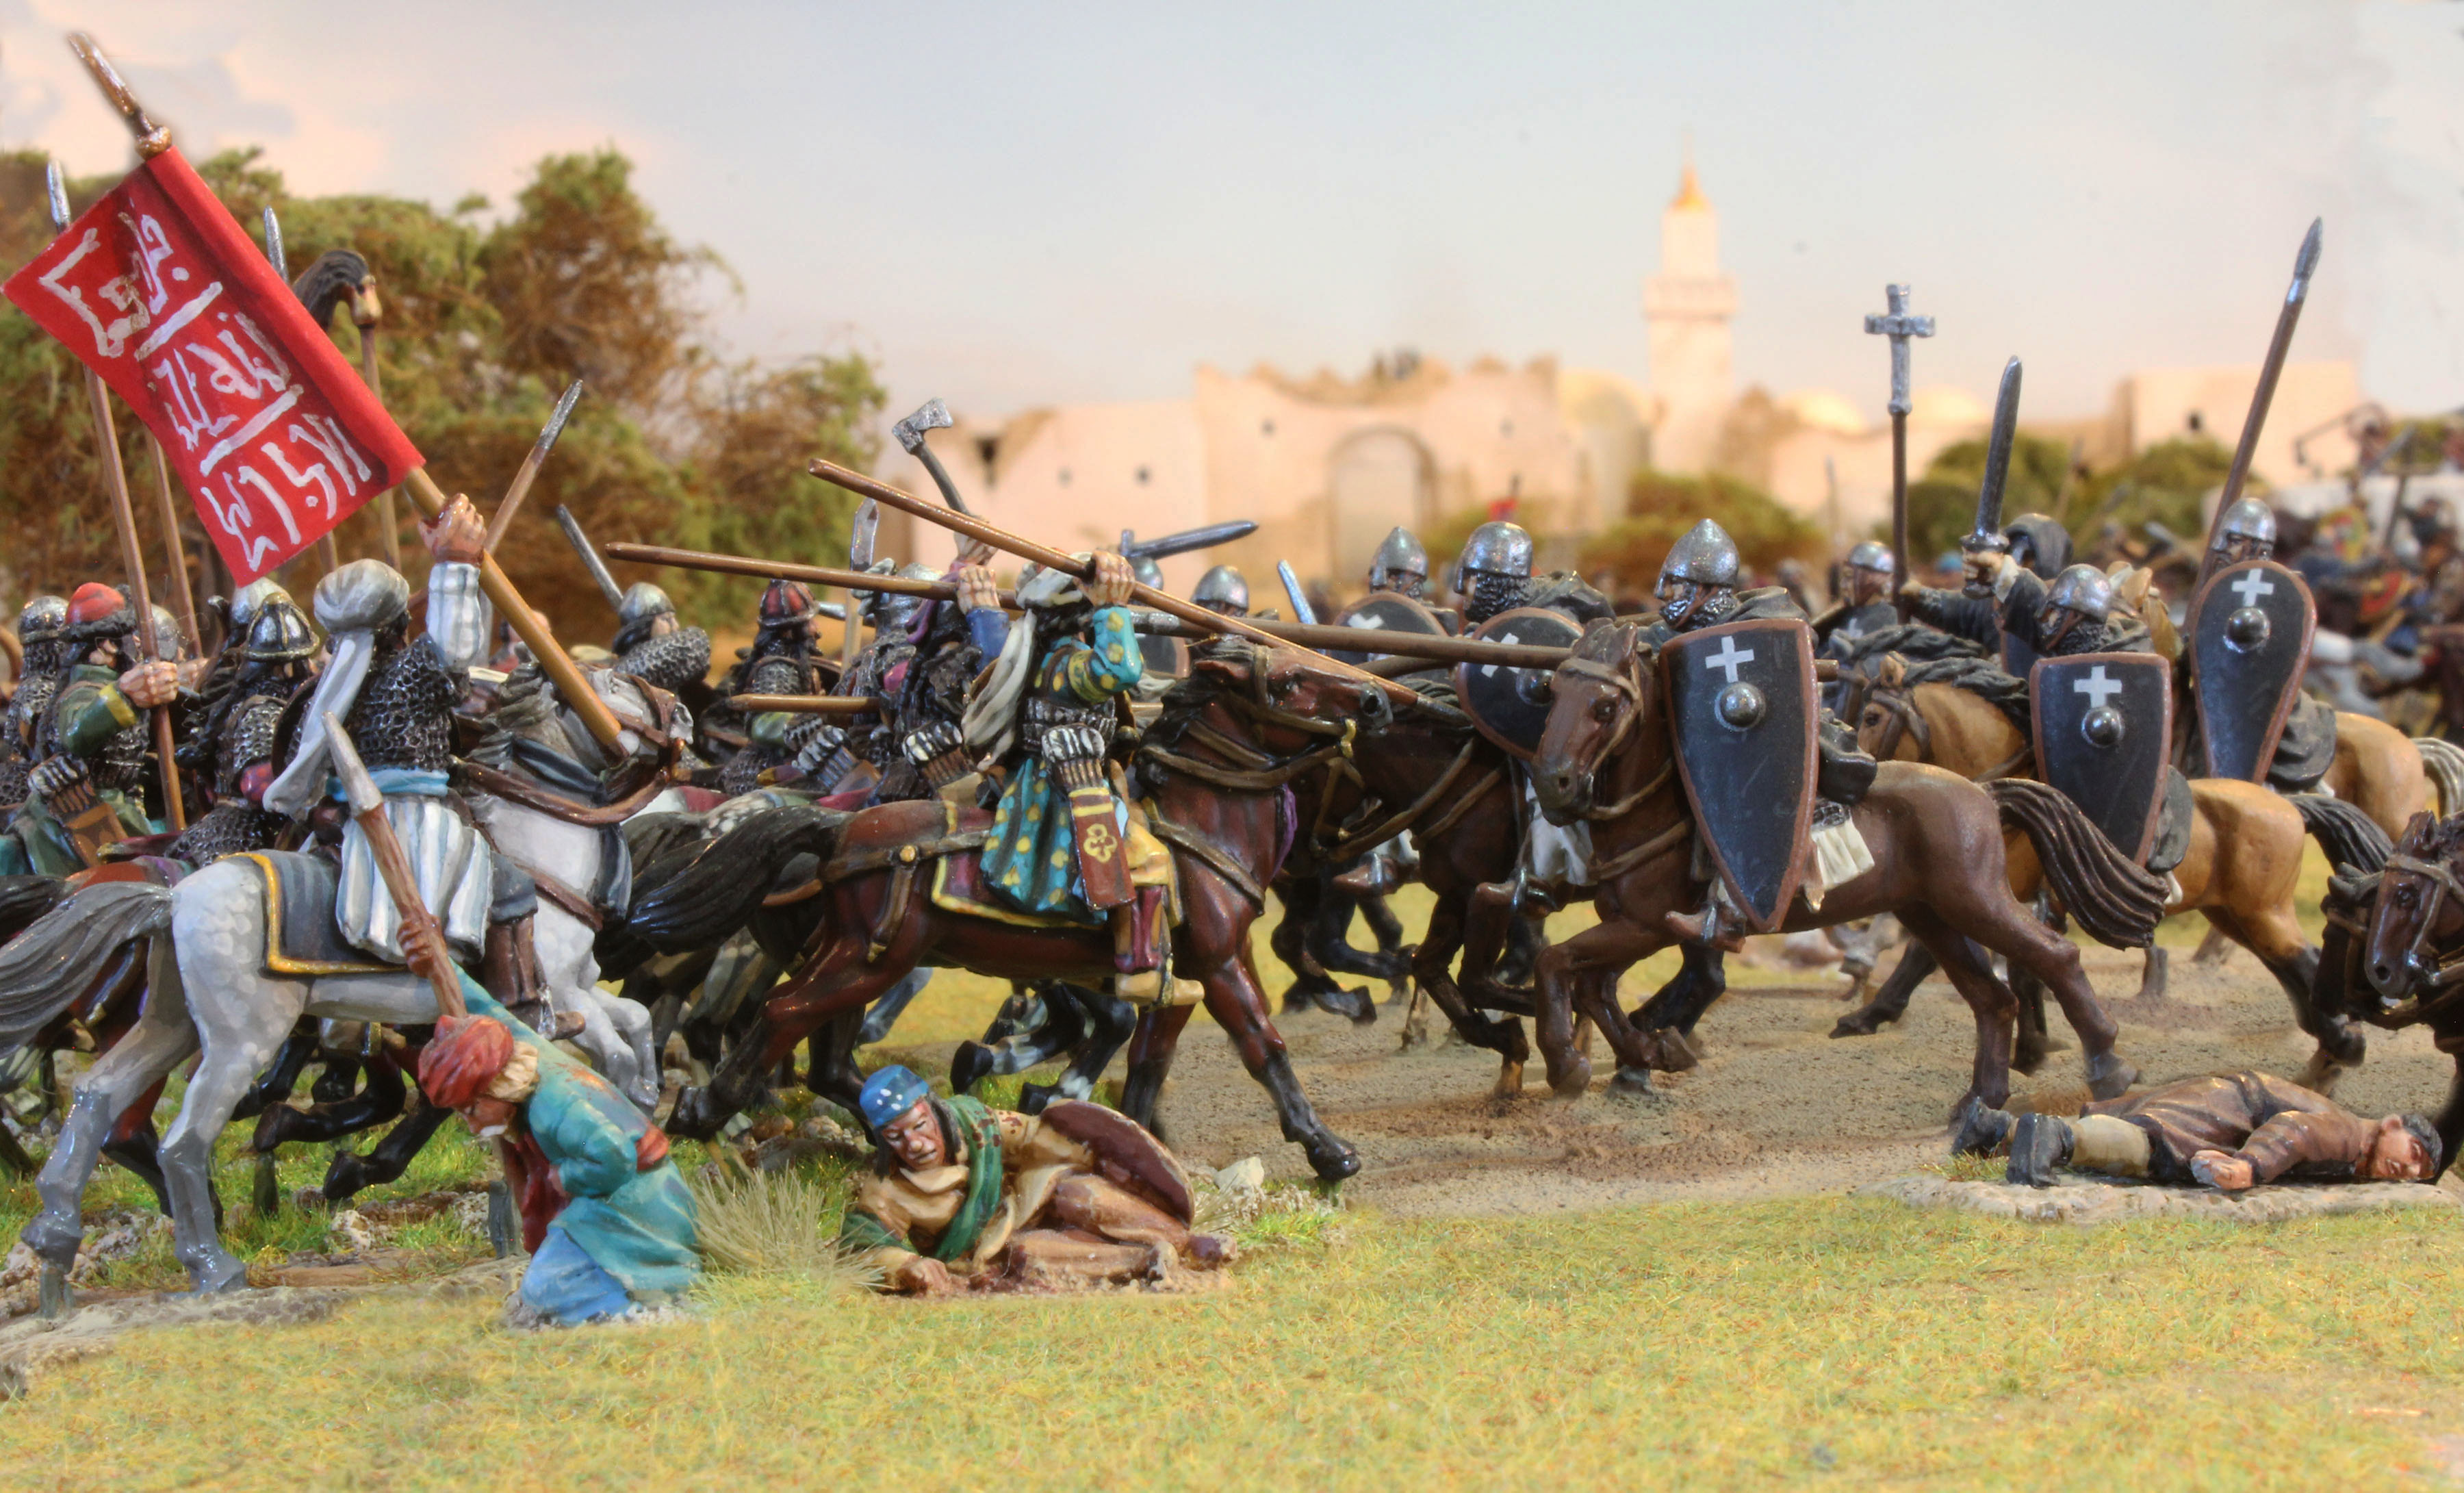
The battle rules are short and straightforward to give players a better opportunity to think about the scenario’s goals and how to win (and to stare at the beautifully painted shiny things on the table rather than keeping their head down in a rulebook).
Each game turn follows the same basic pattern:
Players take it in turns to command their own Warband; you first get the chance to challenge any enemy Leader that’s been silly enough to move close to your own Leader. Losing your Leader has a suitably bad effect, as does refusing a challenge.
Next you move on to rally any of your units that have failed a Courage test in the previous turn and are dithering about on the battlefield.
Then you test to see if any of your impetuous units must make an uncommanded Wild Charge at nearby enemies (whether you want them to or not). Combat is fought immediately when units make contact, so one Wild Charge may trigger others.
Once you’ve checked for Wild Charges, you can start to activate your other units as you wish, testing and then carrying out one action per unit … until you fail a test, which ends your turn.
If any of your units hadn’t been activated before your first failure, they just stand around looking a bit gormless: success therefore comes from working out your priorities each turn and having the right units in the right place to fulfill them.
When you want to activate a unit, you need to decide whether it is going to move (without fighting), attack (move into combat and fight immediately), or shoot (which only applies to troops with missile weapons of course). To carry out any of those actions, you need to roll and total two six-sided dice and check against that type of unit’s ability to carry it out.
Units fight against each other one-on-one, but you can carry out a sequence of coordinated attacks if you’ve outmaneuvered your enemy, defeating individual units piecemeal or pushing them back from seizing objectives. When your units charge in to fight their enemies, combat is a simple process decided by the two units’ respective Attack and Defence values, and the number of models in each unit:
If your unit is still over half its starting number of models, it fights a lot better (with 12 dice) than if the unit is at half strength or less (rolling only 6 dice).
The attacking unit scores a hit for every die that equals or betters their Attack value, and the unit that has been attacked scores a hit for every die that equals or betters their Defence value. Simple.
The number of hits is compared to the target’s Armour rating to work out how many casualties are taken.
Units taking casualties need to check their Courage to find out whether they stand, retreat in an orderly fashion, or rout from the battlefield.
Differentiating between offensive and defensive capabilities allows for variation in how each troop type performs: some are better on the attack, some at standing back to defend (and some, such as missile units, being not especially good at either). Shooting works in a similar way to close combat, although the target unit cannot fight back. You’ll quickly discover that missiles are pretty deadly and that only a foolish Leader will allow units to stand in missile range without countering them.
Your Warband’s morale is judged by each unit’s Courage. A Courage test is performed when they’ve taken casualties, when they try to rally, if your Leader is killed or flees, when your army has lost half of its units, or in other frightening situations. An unsuccessful Courage test sees the unit rout from the battlefield or become Battered (making them useless until they rally), depending on how badly the test is failed. The more damage a unit has taken, the harder the test becomes. You must subtract 1 point from your Courage test for each casualty your unit has taken in the game. Just as in combat and shooting, starting a battle with fixed unit sizes means that casualties can be built into the dice rolling mechanisms to smooth out gameplay rather than needing to list a growing number of dice roll modifiers.
Shooting and melee need to be the meat of any medieval wargame as that’s how these battles are won or lost, and if you have a good grasp of probability using two six-sided dice you’ll be able to take a good guess at the likely outcome of each combat, assuming that the dice work as they should!

As proven by the first edition, I know that players will tweak the rules to their own tastes. The troop types included in Lion Rampant are stereotypes of medieval warriors as I want to portray them, but the unit stats are granular and you can experiment with modifying a number here or there to make the rules or units work exactly as you wish. I provide plenty of unit upgrades to help you to shape units in a way that suits your chosen army.
There are no ‘official’ army lists and I hope that players will do a little research to work out how best to represent their chosen Warbands. That’s something I think is a true pleasure within this hobby so I fully embrace players doing a bit of reading and thinking about what combination of units will give them the most enjoyable Warband to play with. But if that’s not your thing, I’ve included plenty of sample Warbands in the book to give you some ready-made options.
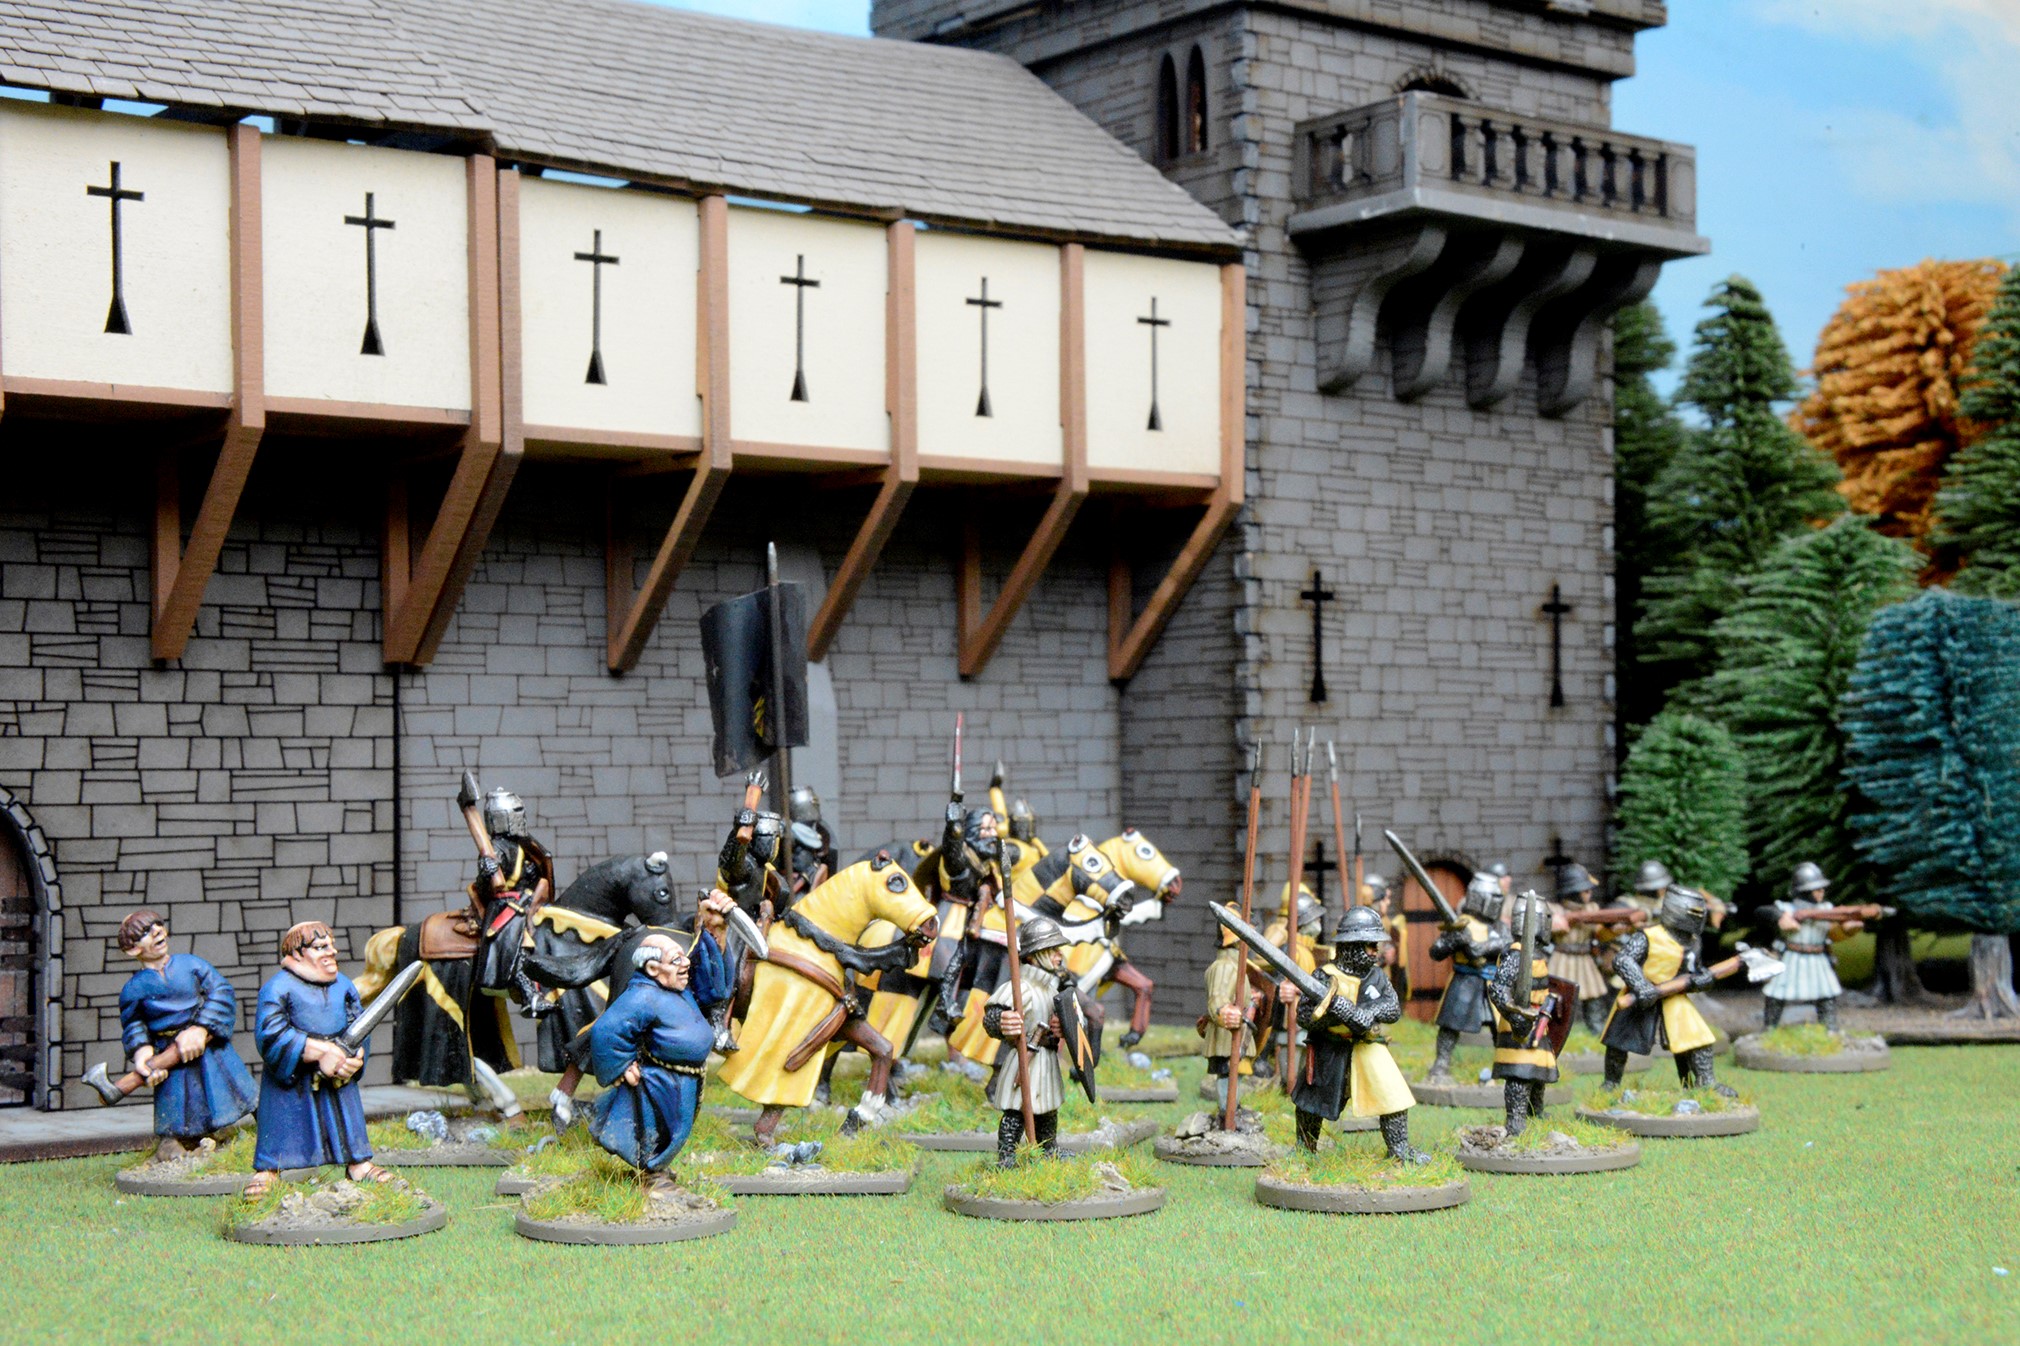
The first edition of Lion Rampant gave wargamers, old and new, the means to try their hand at painting heraldry (or use heraldic transfers if you paint as poorly as I do!), collect some knights and archers, and discover the colourful world of medieval wargaming. If the second edition does the same, adding Late Romans, Vikings, Arthurians, and so many other armies into the historical mix, I shall be a very happy author!
Lion Rampant: Second Edition is written by Daniel Mersey and illustrated by Mark Stacey.
Get your copy in August 2022 and bring your battles to life.

Comments
You must be logged in to comment on this post. Click here to log in.
Submit your comment