
Michael Leck is back on the blog in the build up to the release of Rebels and Patriots, the upcoming wargame written by Michael Leck and Daniel Mersey. Here we have a full battle report, with Michael's Union forces taking on the Confederacy, commanded by his son. This blog was first posted on Michael's personal blog.
There’s not even 2 weeks left until the official publication of Rebels and Patriots! In this blog, I will shed some light on some of the rule mechanics through a battle report, answering some of the questions you have had for me.
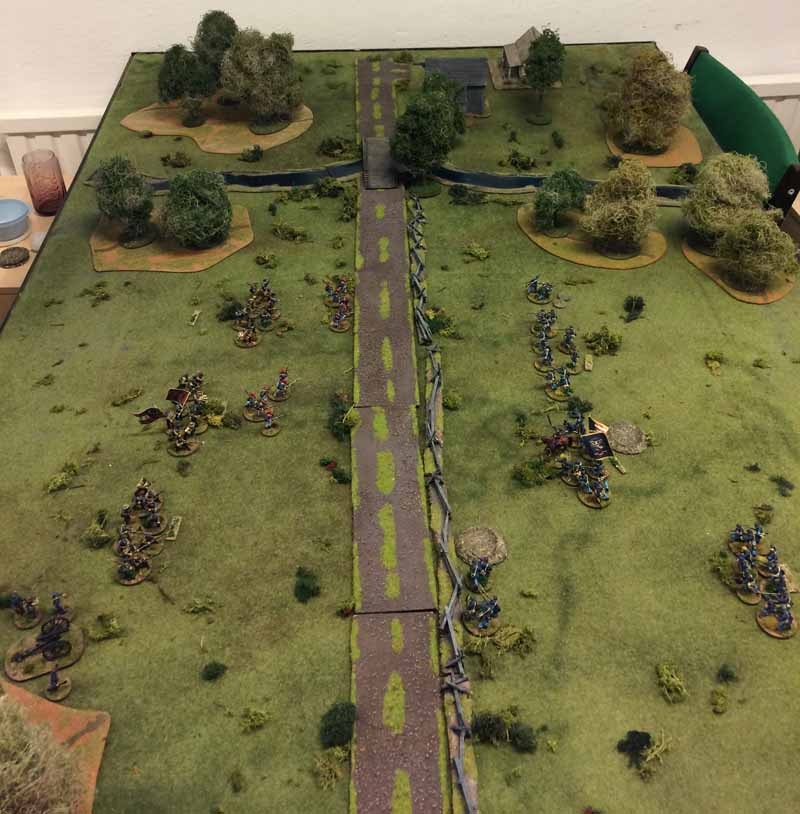
All the examples are from a game my son David and I ran today. It was set during the American Civil War, with David commanding the Confederate forces and I the Union. I was so sure of the Union victory that I even fielded a weakened force – 18 points to David’s 24!
Union OOB - 18 points
3 units of Line Infantry @ 4 points each
3 units of Skirmishers @ 2 points each
Confederate OOB - 24 points
3 units of Line Infantry @ 4 points each
2 units of Skirmishers @ 2 points each
1 unit of Light Cavalry @ 4 points
1 unit of Light Artillery @ 4 points
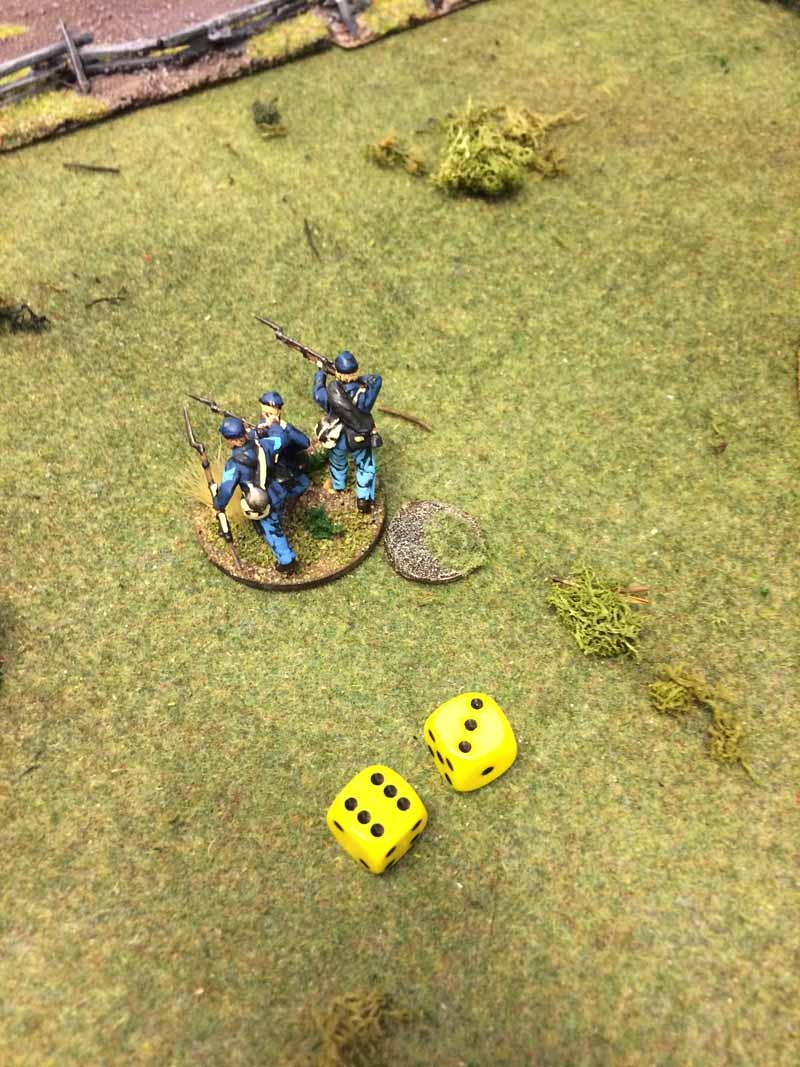
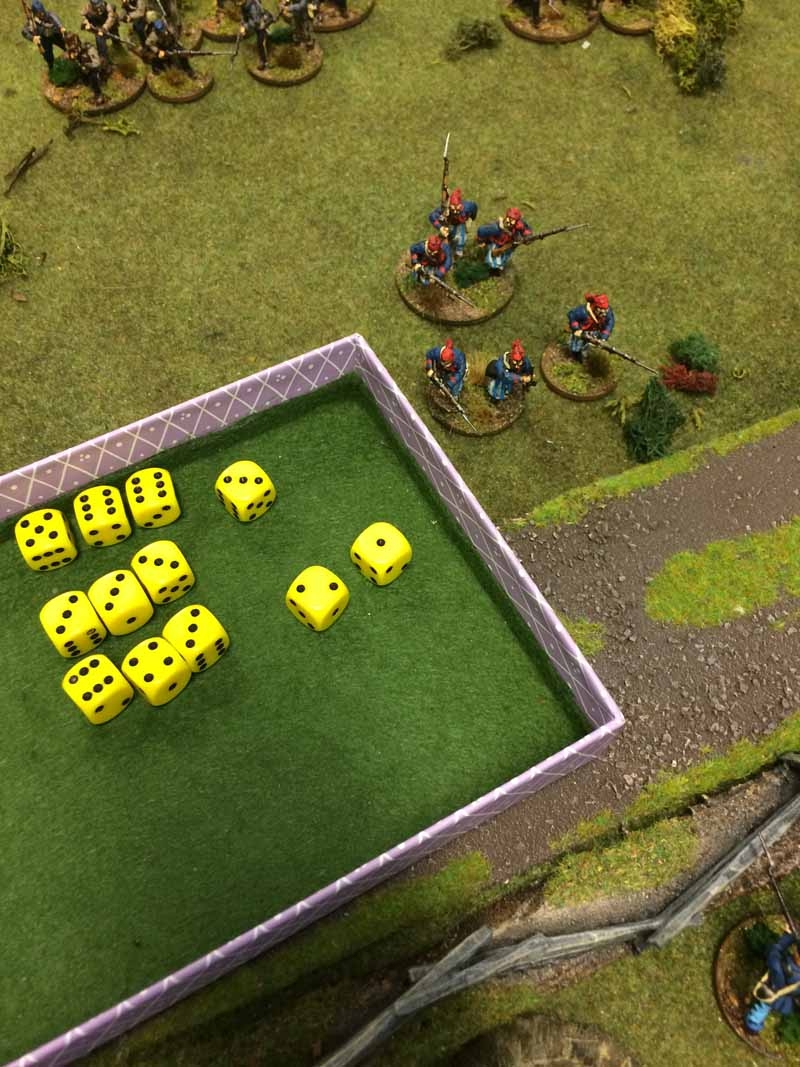
First let’s look at some dice probabilities for the 2D6 roll that is vital to Activate your units in Rebels and Patriots. To success with Activation, Morale, etc you need to roll 6+ with 2D6, which can be modified depending on the situation, quality of the troops, Officers etc.
It is also worth noting that you don’t end your turn if you fail to activate a unit, you still have a chance to activate all your units during your turn.
An unmodified 2D6 roll has a 72% chance of a 6+, and thereby succeed, which is fairly good and will let you activate 4-5 of your units each turn if you have 6 units in your force.
However, I don’t want 30% of my force to sit on their butts each turn, so I do what I can to increase my chance to activate them. For example, if I manage to have them all within command (12” of my Officers unit) then they all gain +1 on the 2D6 roll, increasing their chance for activation to 83%.
If I keep my units (the ones that can) in Close Order they also gain +1 on all Activations. As these bonuses can stack a unit in Close Order within 12” of the Officers unit will gain +2 on their roll, giving them an impressive 92% chance to be activated.
These statistics were what would win me and the Union the day against David and his Rebels, even if I had a weaker force in terms of points.
So let’s head to the game. I describe it in turn order and try to focus on explaining the rules for some of the game effects. If anything seems unclear, please head over to my blog and ask me there!
 |
|
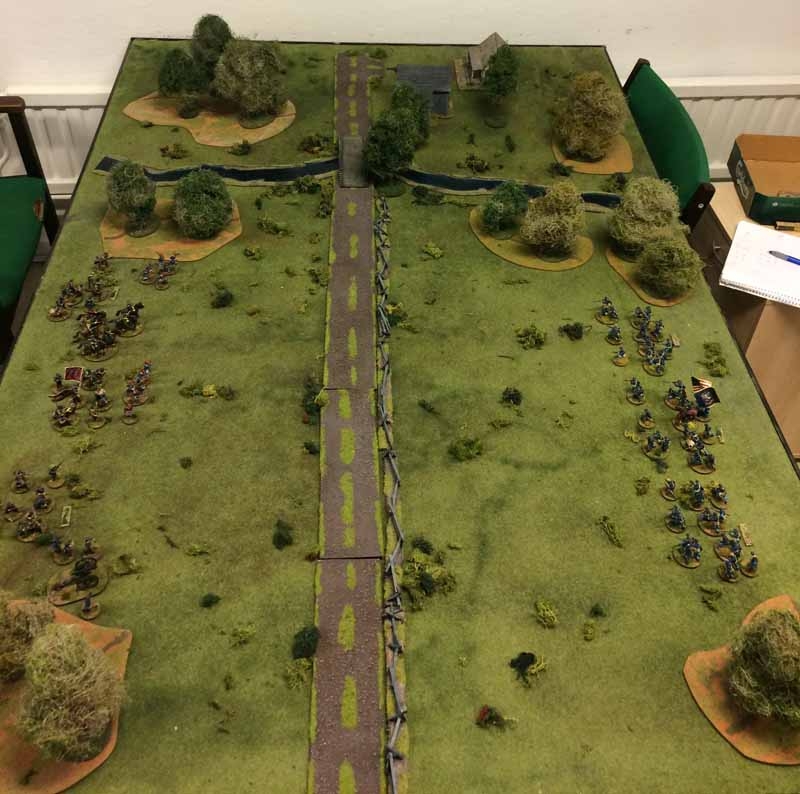
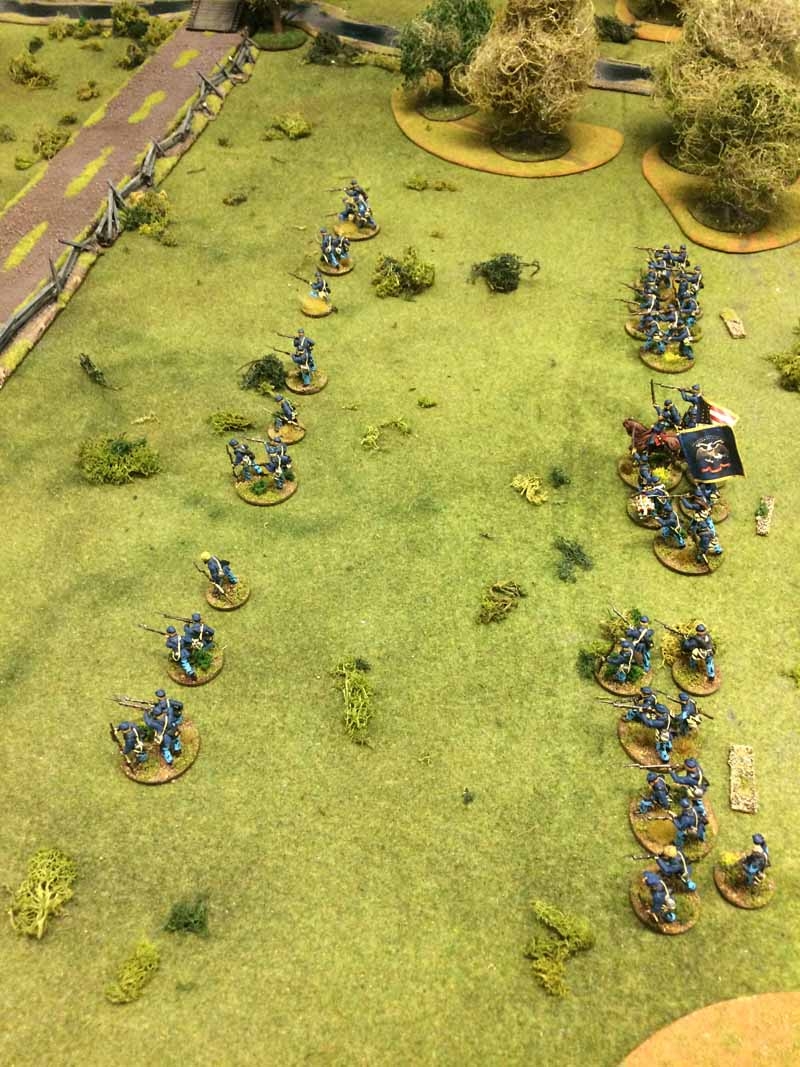
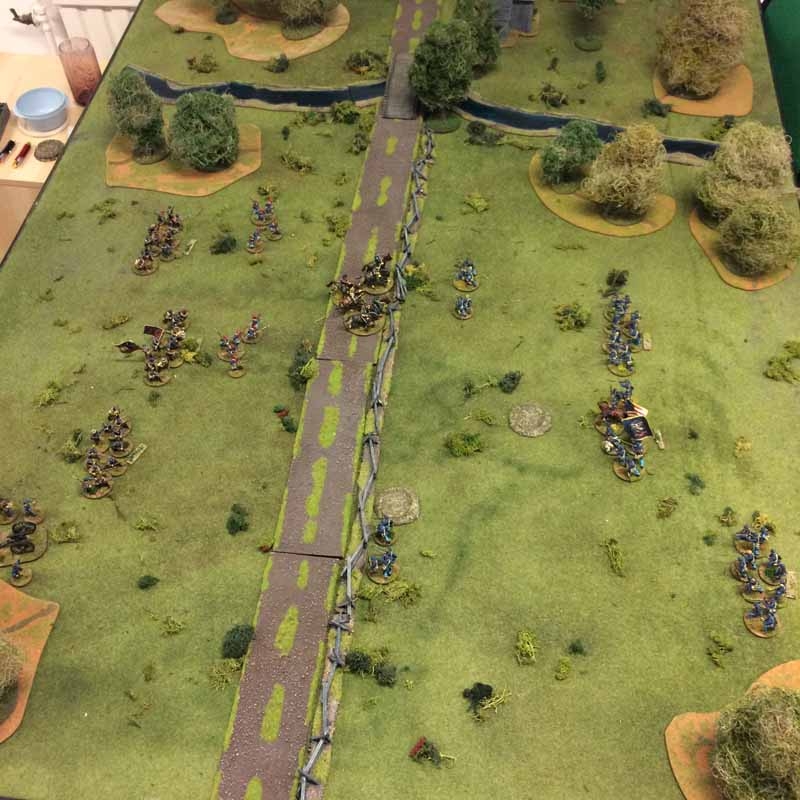
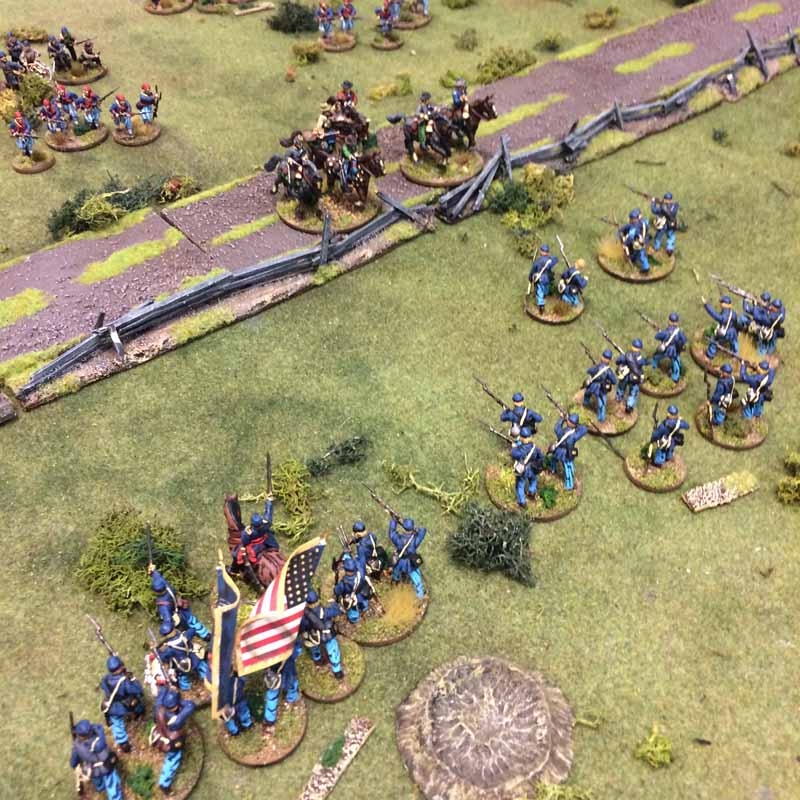
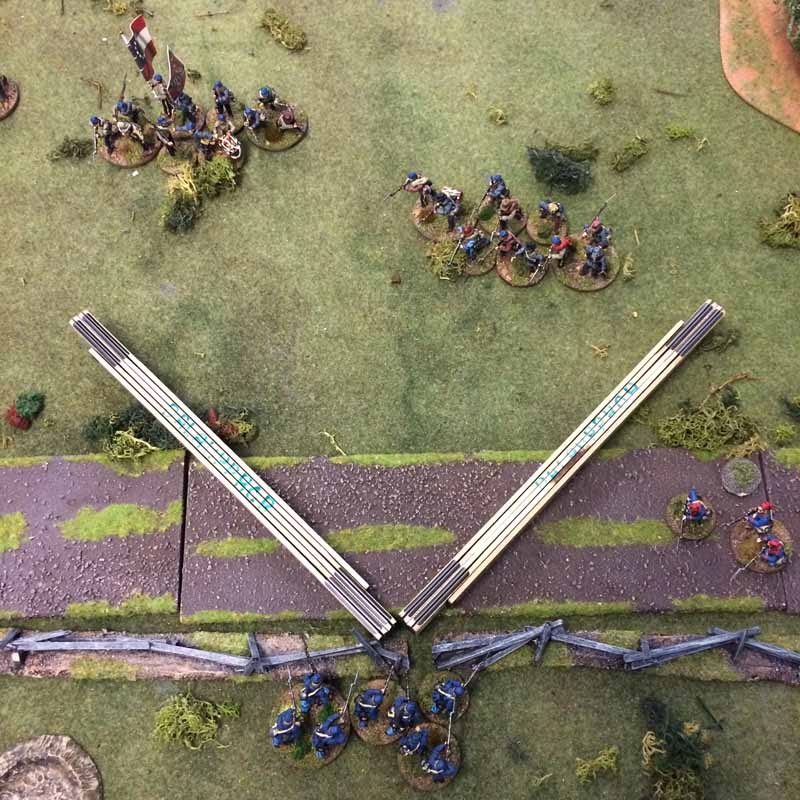
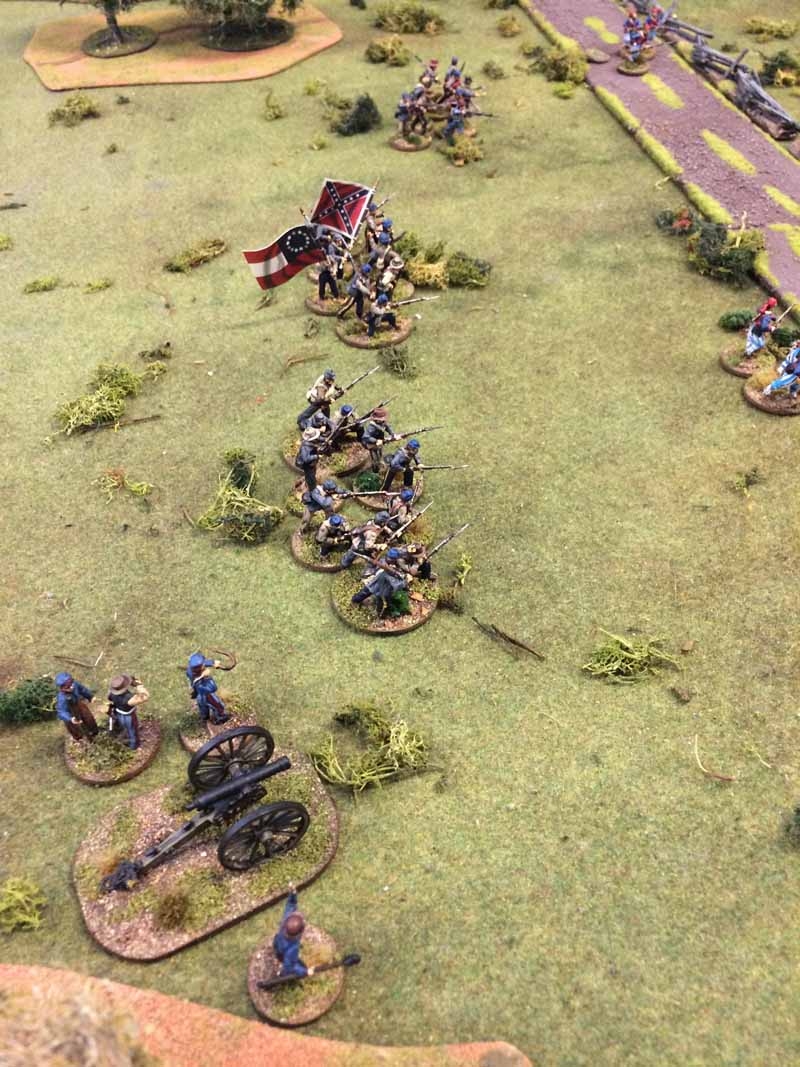
The objective of the game was easy, both sides was attacking to get hold of the fence by the road. The side with most units in contact with it by the end of the game was the winner. |
Turn 1
 |
|
The Union had the initiative and sent the 3 units of Skirmishers forward. The Line infantry formed Close Order but only 2 of 3 suceeded. |
|
|
|
The Confederates sent their Skirmishers and cavalry forward on their left flank as the 3 units of Line Infantry also formed Close Order. Seems like David had caught on to my ideas, or perhaps he has played enough games to know that Close Order has its benefits. |

 |
|
The Confederate Artillery managed a lucky shot when it managed to land a shot on one of the Union Skirmish units. They took a casualty but passed their morale test! |
Turn 2
 |
|
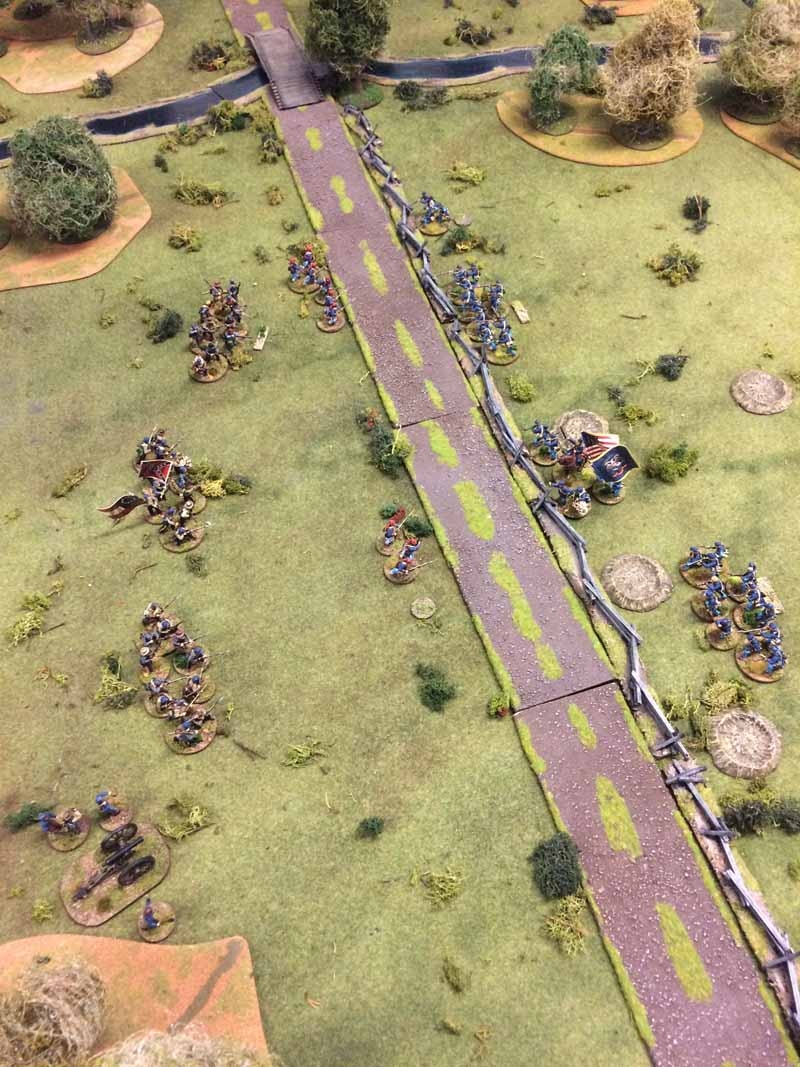
The Union troops continued their advance for the fence and all 3 on the Skirmish units reached it. The Line Infantry advanced, all now in Close order. |
 |
|
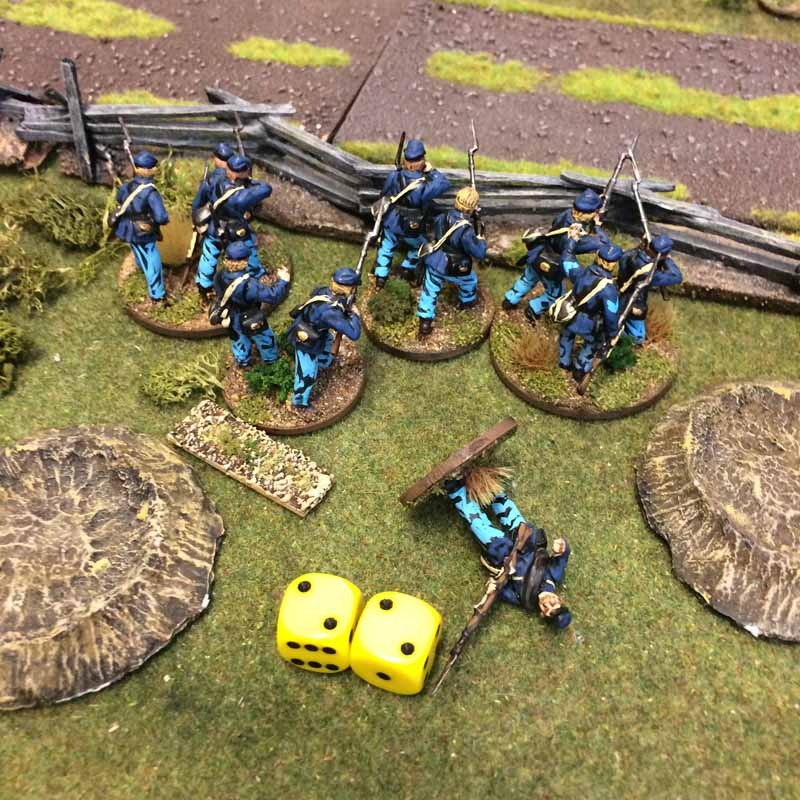
The Confederate response was harsh. A unit of Skirmishes opened fire on the Union Skirmishers that had been hit by the Confederate Artillery and gained a Disorder Marker, which they chose not to rally away and instead advanced to the fence. This would turn out to be a big mistake. The Union Skirmisher took one more casualty and rolled for Morale, scoring double 1 with a -2 modification for the casualty just inflicted and the Disorder Marker. The unit gained 2 additional Disorder Markers, giving them 3 in total so they routed right away! |
 |
|
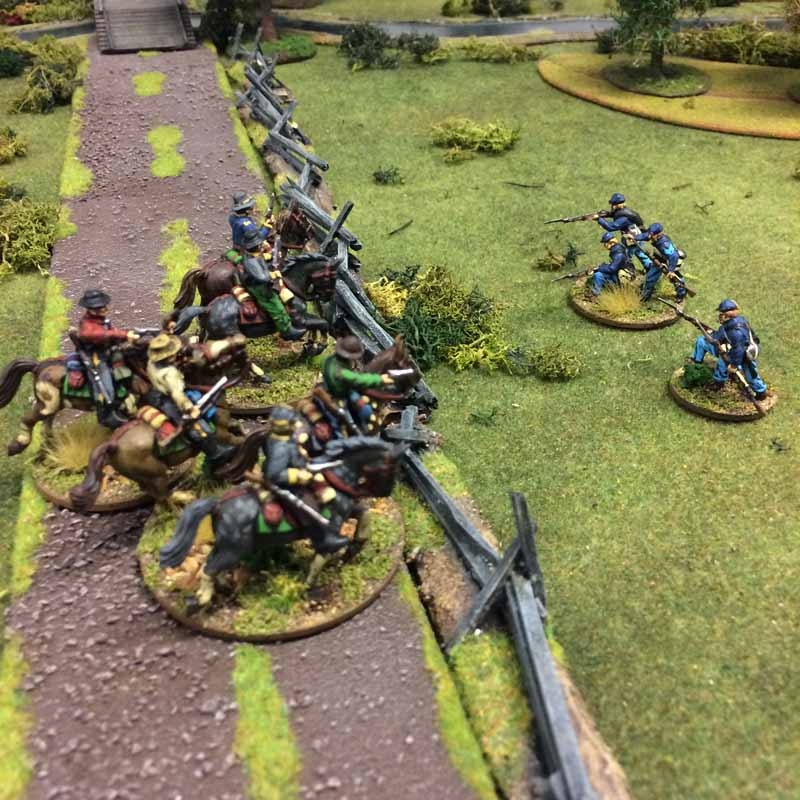
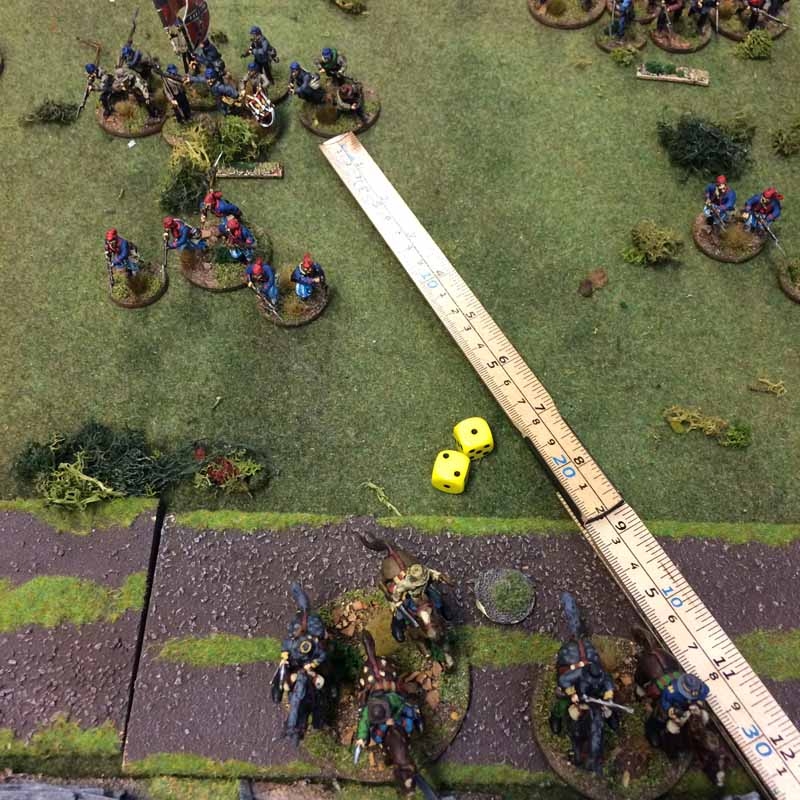
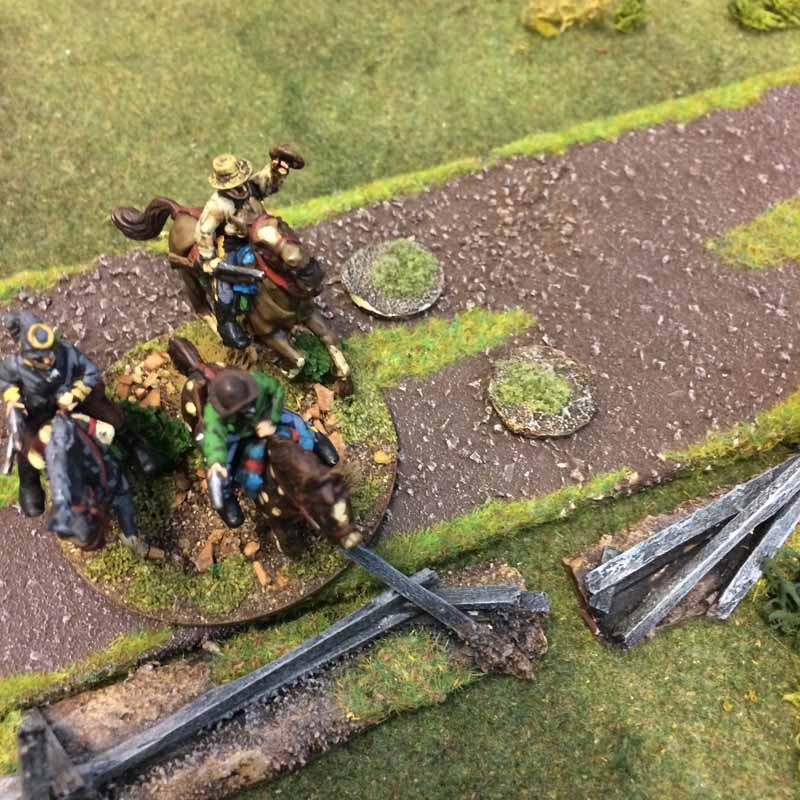
The Confederate Cavalry made a Skirmish move to the fence, directing their fire at a unit of Skirmishers. They inflicted one Casualty but the Skirmishers held their ground. In Rebels and Patriots Cavalry cannot use the Fire Action – the only way they can shoot is with the Skirmish Action. |
Turn 3
 |
 |
|
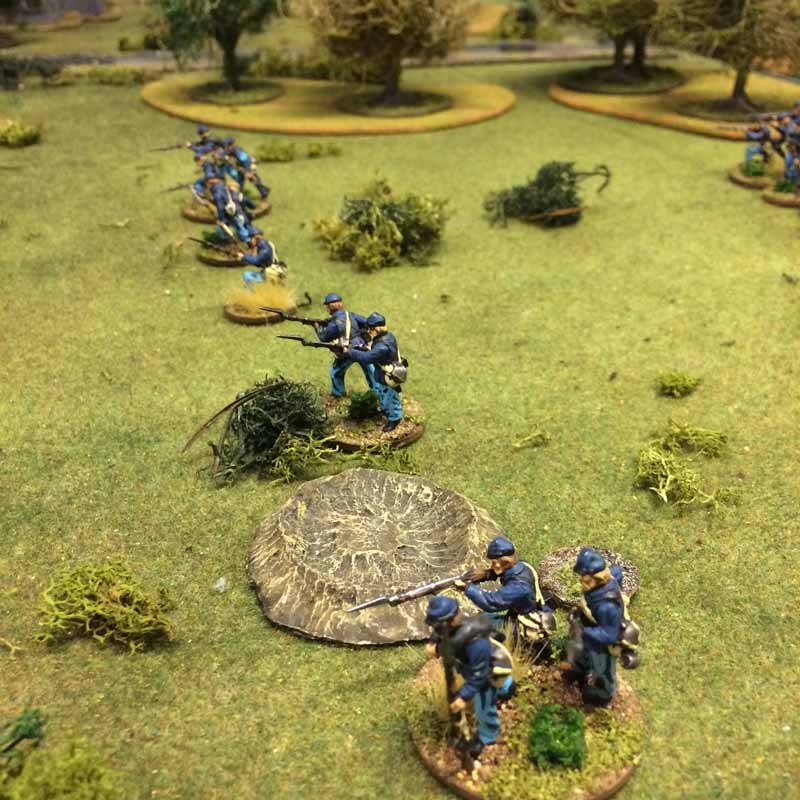
The Union Skirmish line had been thinned out, so a swift advance with the Line Infantry was the key to victory, or so I believed… |
 |
|
A double 1 on an Activation is never good! The unit ended up breaking their close order and made a headless charge towards the closest enemy unit, which was out of range. This wasn’t too bad as I wanted them to advance, but losing the Close Order so close to enemy units can be dangerous. |
 |
|
The Officer’s unit also made a bad Activation roll of 4, which normally would result in a failure, but as it is the Officer’s unit and they are in Close Order they add +2 to the roll, bringing them up to a total of 6, succeeding their Activation. |
 |
|
With the Line Infantry advancing more or less as planned, the Union Skirmish unit on the right flank (out of the picture) opened up on the Confederate Cavalry and managing to inflict 1 casualty. |
 |
|
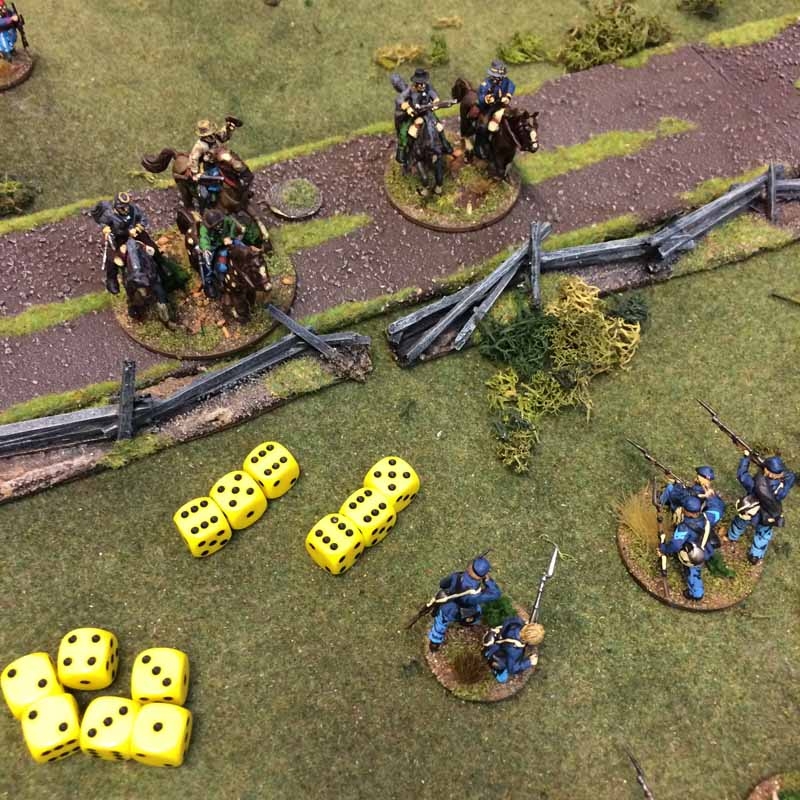
The Confederate Cavalry rolled poorly for Morale – a 3 modified by -1 for the Casualty but with +1 for being within 12” of their Officer’s unit, resulting in 1 Disorder Marker. If the Officer’s unit had not been within command range they would have gained 2 Disorder Markers, as the total result of the Morale test would have been 2 or less. |
 |
|
The Union Skirmish unit in front of the Cavalry took advantage of the situation and also opened fire on the cavalry, resulting in 2 more casualties to the unit. |
 |
|
The Confederate Cavalry unit had now lost 3 miniatures, bringing them down to half Strength which meant they receive a Permanent Disorder Marker and make a retreat move, all before the Morale test is rolled for the Casualties just taken. |
 |
|
The Confederate Cavalry unit then had to roll for Morale due to the casualties taken by the Union Skirmishers Fire Action needing a total of 6+ to succeed. They rolled a 4 on the Morale test, modified by -2 for the Disorder markers, -2 for the Casualties just taken and then with +1 for the Officer Close by, giving a total of 1. A total of 2 or less on a Morale Roll gives the unit 2 Disorder markers and since the Cavalry unit already has 2 Disorder markers they get up to a total of 4, causing the unit to Rout (3 or more Disorder Markers = Rout) and was removed from play. |
 |
|
The Confederate forces tried to retaliate but due to poor dice rolls they only manage to hit one of the Union Skirmish units. |
 |
|
The Union Skirmishers took 2 casualties and was down to half strength, which means they receive a Permanent Disorder Marker and forcing them to roll for Morale. A 9 on the morale roll was modified by -1 for the Disorder maker, giving a total of 8. This meant they’d successfully passed the roll and did not receive any additional Disorder markers. |
Turn 4
 |
|
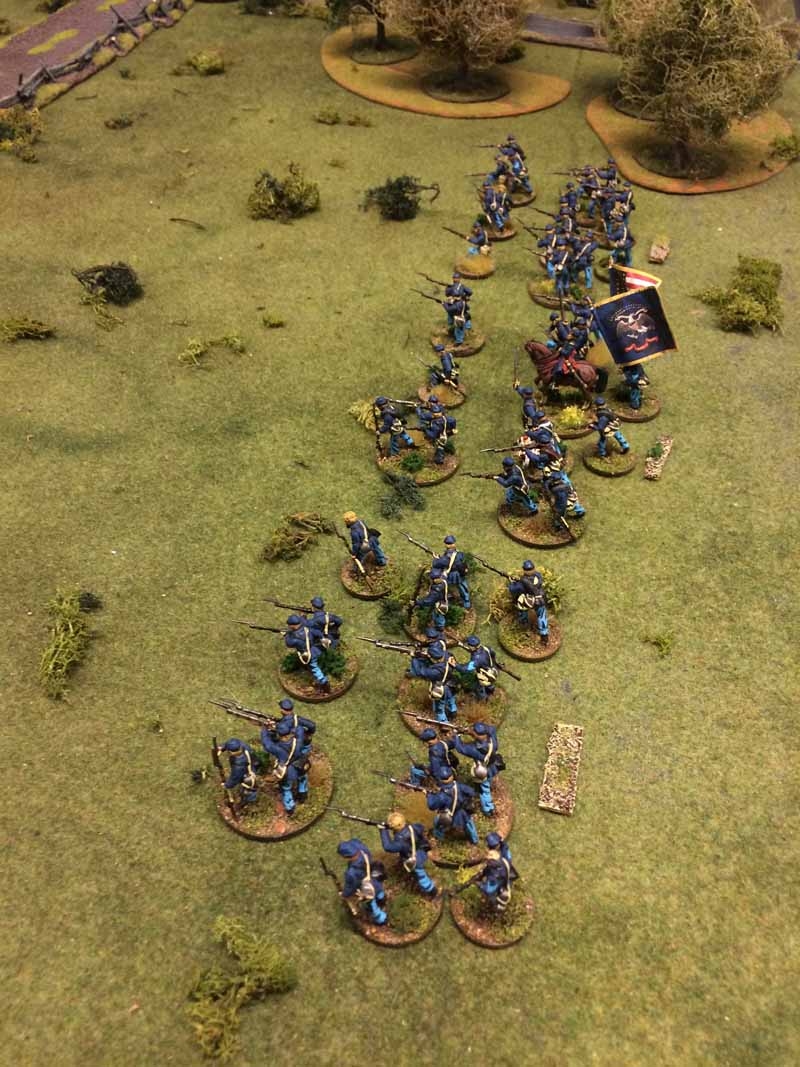
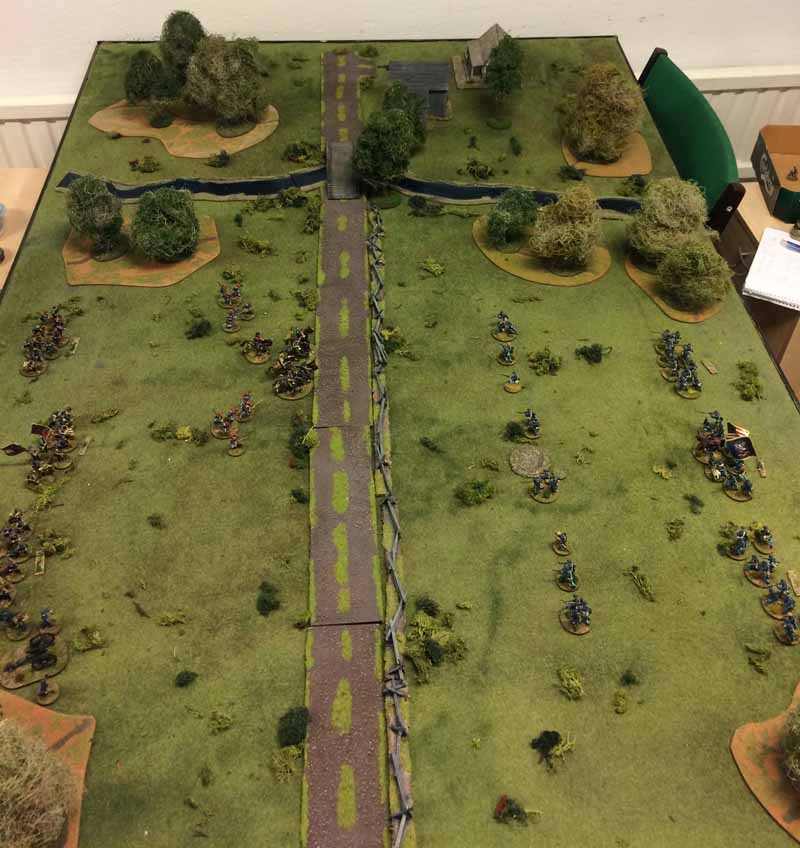
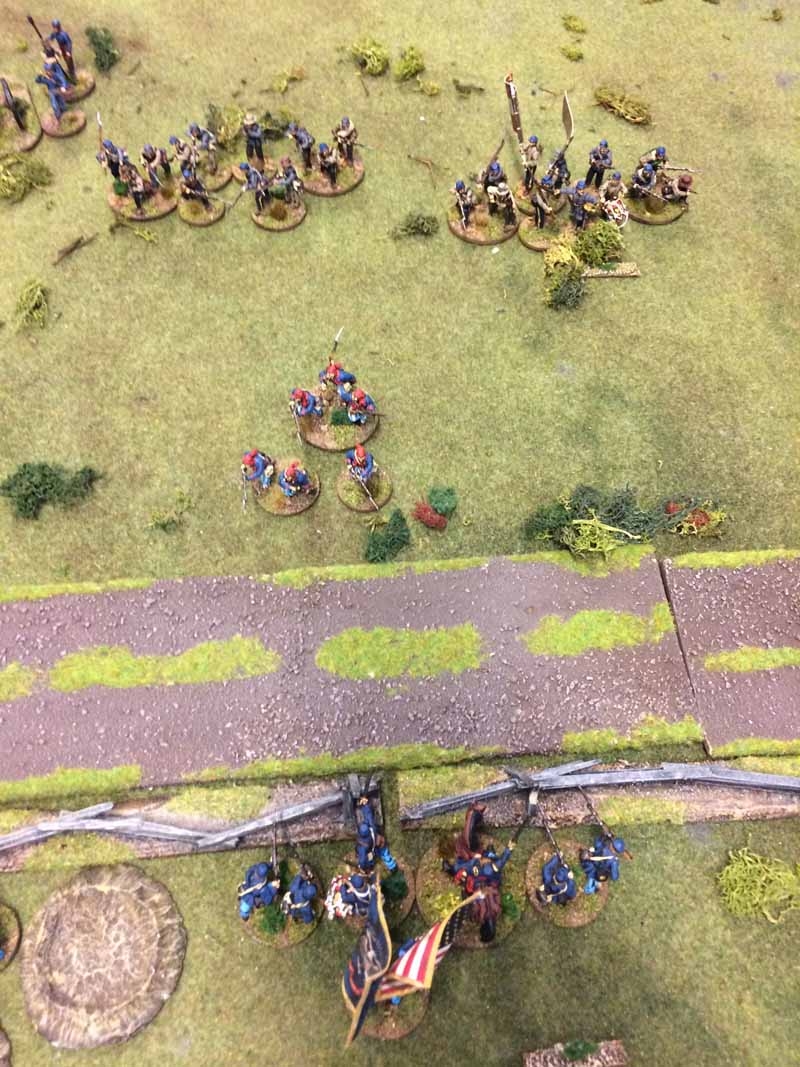
For the 4th turn, both sides were focused on Skirmish fire and bringing the Line Infantry into position. |
|
|
|
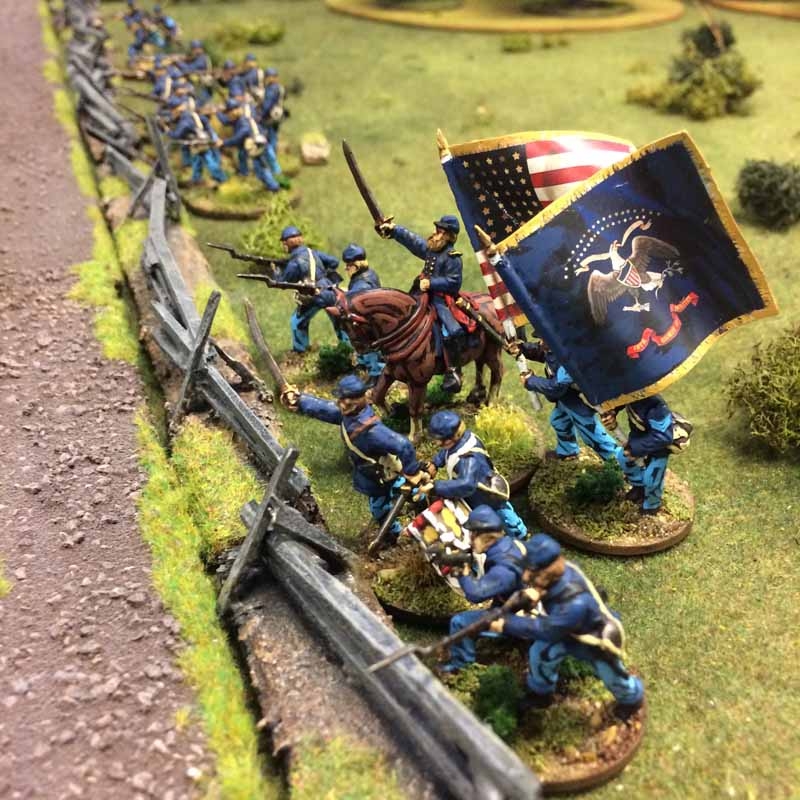
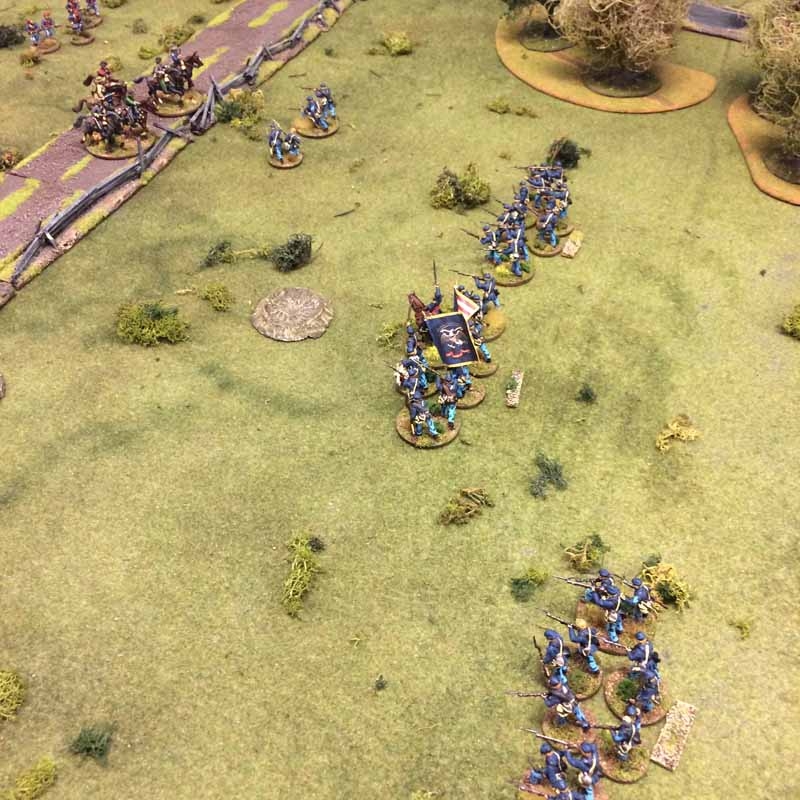
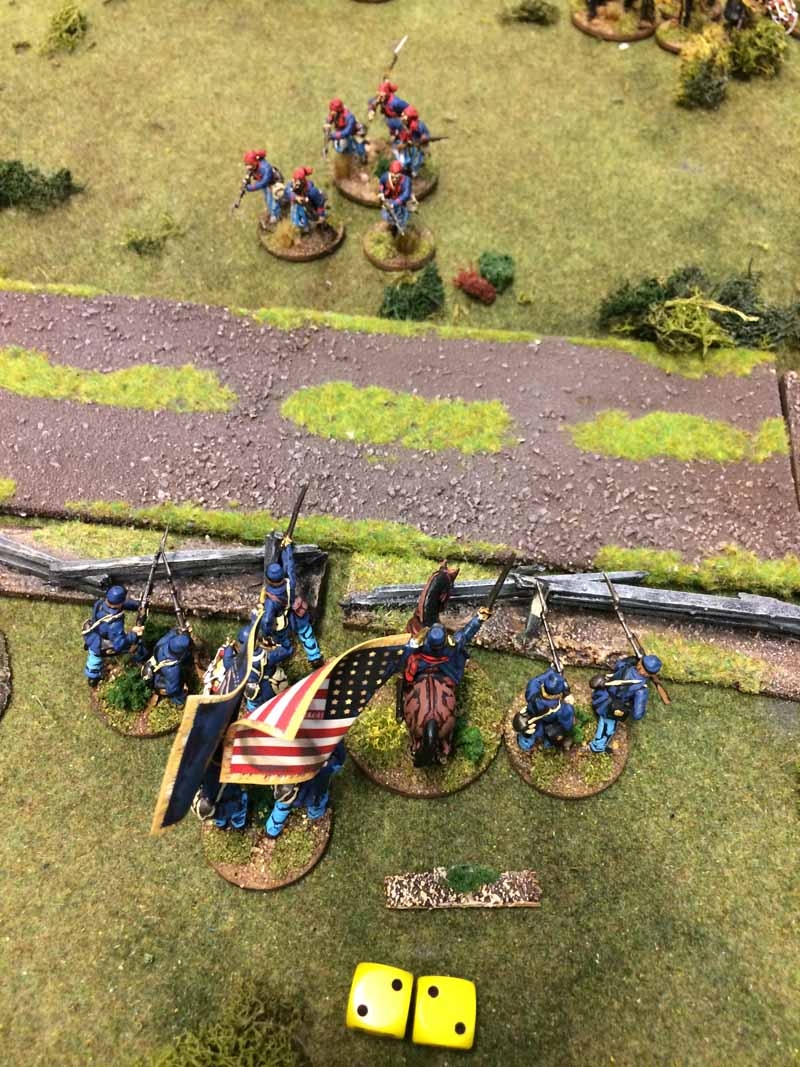
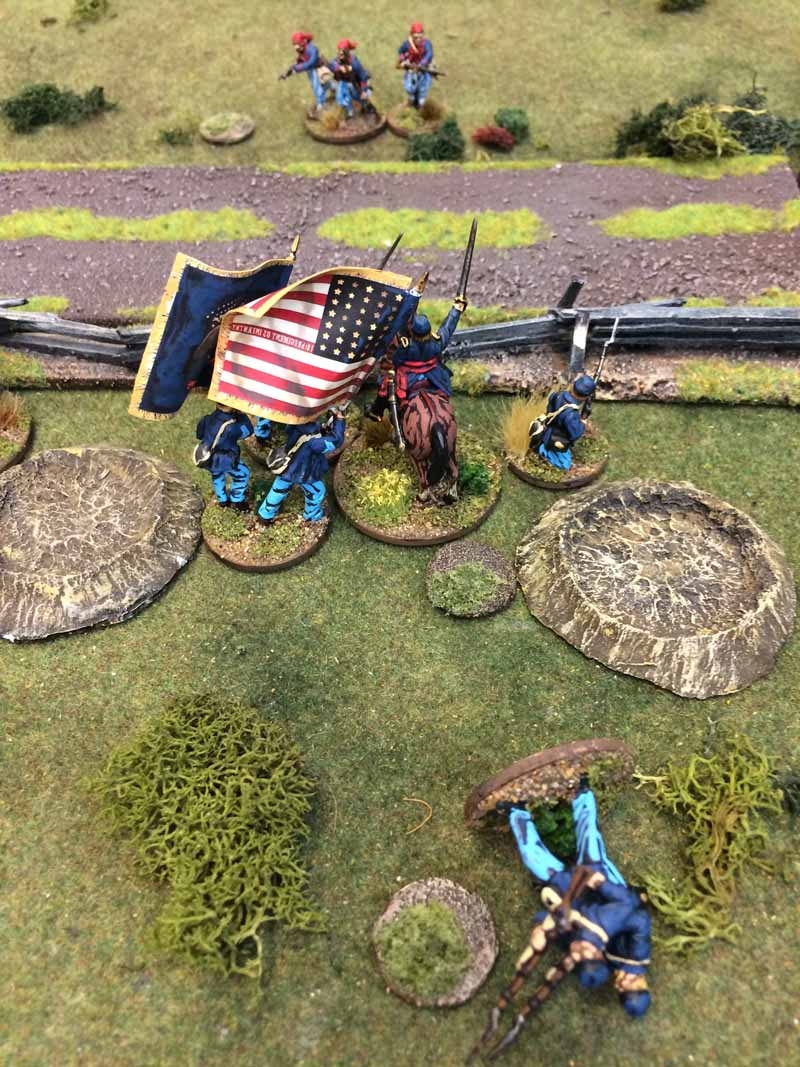
The Union Officer and his men reach the fence first, but this brings them within range for the Confederate Artillery |
Turn 5
 |
|
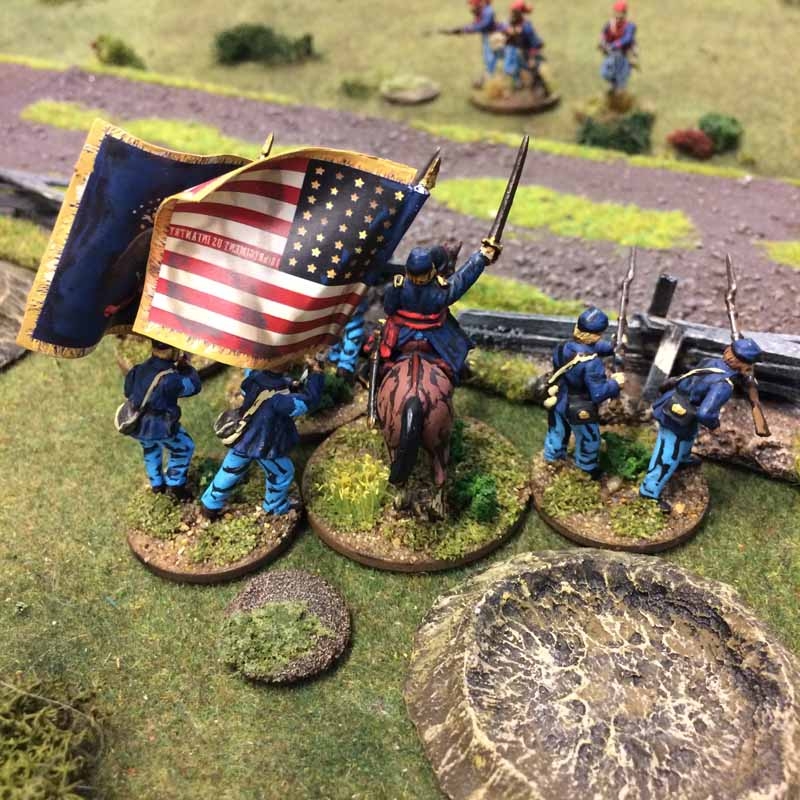
The Union Officer ordered his men to open fire on the Confederate Skirmishers in front of them. I didn’t really want to waste the First Fire on a Skirmish Unit but they needed to go! Rolling an Activation of 4 was enough as they got +1 for the Officer and +1 for the Close Order. |
 |
|
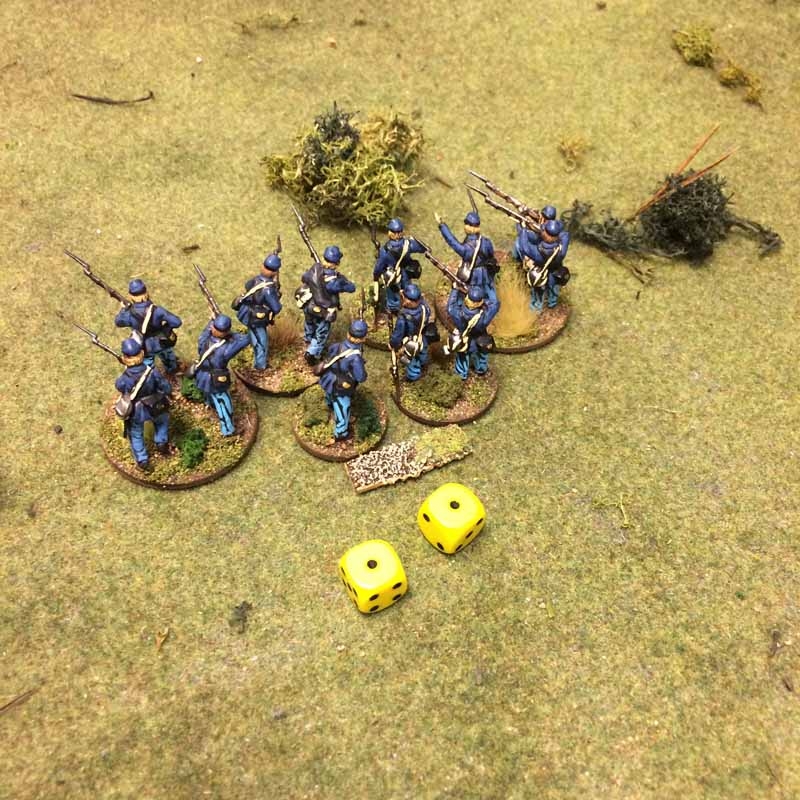
A unit without any Disorder Markers roll 12 dice when performing a Fire action. The Line Infantry normally hit on a 5+ but gain a total of +2 on each dice as they are in Close Order and can fire a Volley, as well as using their First Fire bonus, meaning any dice of 3+ are a hit on the Skirmishers. Shooting at Short Range is normally devastating as you only need 2 hits to cause 1 Casualty, but since the Skirmishers count Open Ground as Cover I needed 3 hits to cause 1 Casualty, inflicting a total of 3. If they had been another Line Infantry unit they would have received a whopping 5 casualties! |
 |
|
Despite my deadly volley the Confederate Skirmishers manage to hold their position and retaliate, causing my Officer’s unit to receive a Disorder Marker. |
| |
|
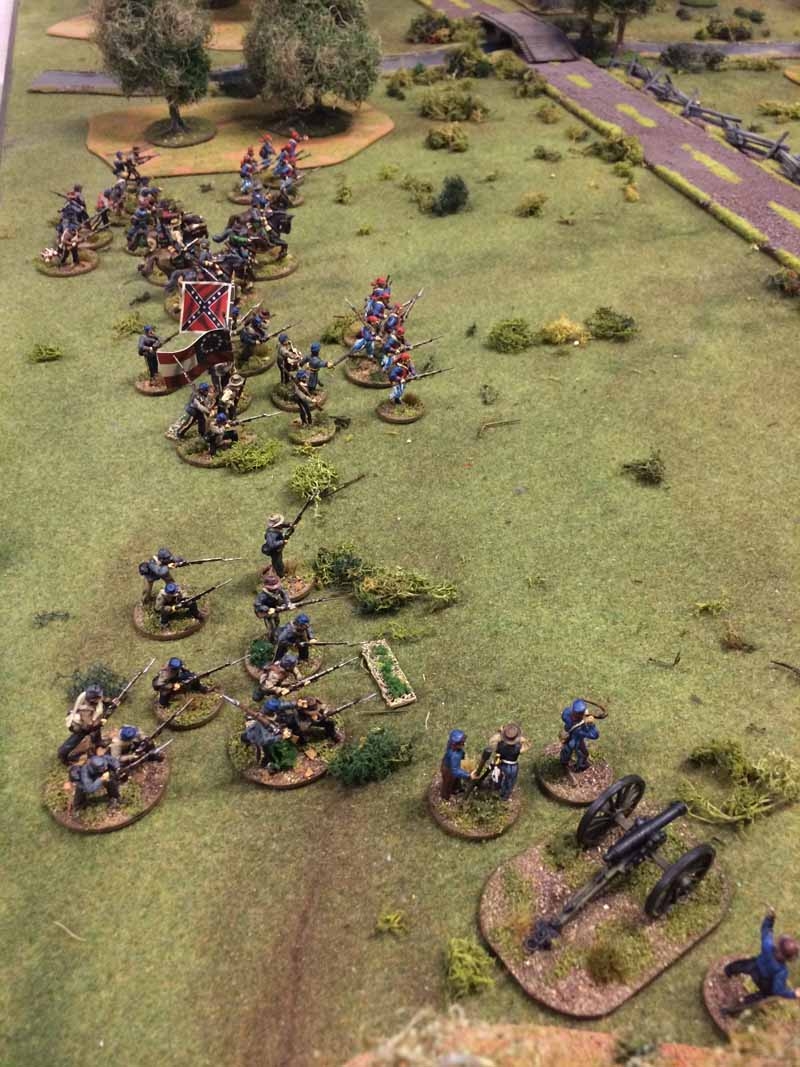
The Union lines start to thin out as the Confederate make good use of their Artillery. |
Turn 6
 |
|
My Union Line Infantry has a limited fire arc as they are in close order, which in this case was good for me as I could ignore the closest unit (the Skirmishers) and fire on one of the closest Confederate Line Infantry units. Unfortunately, this did not have much effect. |
 |
|
Instead, David managed to inflict some Damage in response. This unit took 1 Casualty, forcing them to roll for Morale with a +1 on the roll (-1 for the casualty, +1 for the Close Order and +1 for the Officer with 12”) but still only managed a 5 in total so they received a Disorder Marker. The small rectangles with some units is our way to remember which units still have the First Fire bonus. |
 |
|
My Officer’s unit also received some enemy fire and took losses, gaining one more Disorder Marker. This brought the total to 2 and forced them to retreat. |
Turn 7
 |
|
My Union troops didn’t manage to rally, and the Confederate forces did not hesitate to shoot my fleeing troops in the back! My Officer’s unit took a further 2 casualties, forcing me to take a Morale test with -4 (-2 for the Disorder markers, -2 for the Casualties, no bonus for Close Order or for the Officer as his unit is already Broken. I rolled an 8, which normally would have been a success, but with the penalties my total was 4, giving me one more Disorder marker to take the total to 3 and causing the unit to Rout. |
 |
|
Without the Officer and with only two depleted and Disordered units on the table, it would seem that I have been beaten by a 9 year old. |
 |
|
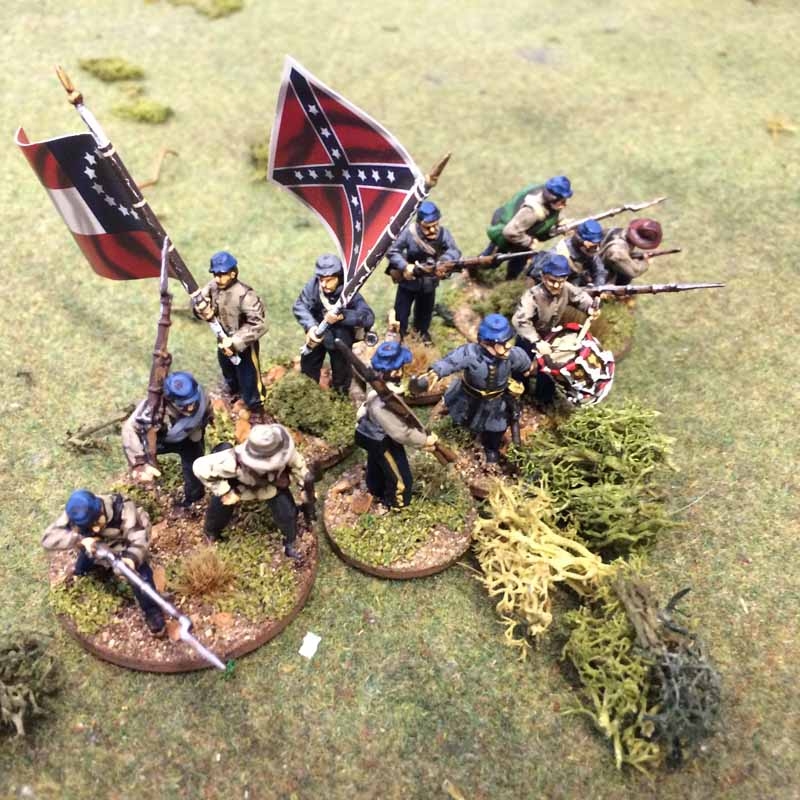
Glory to the Rebels! |
 |
|
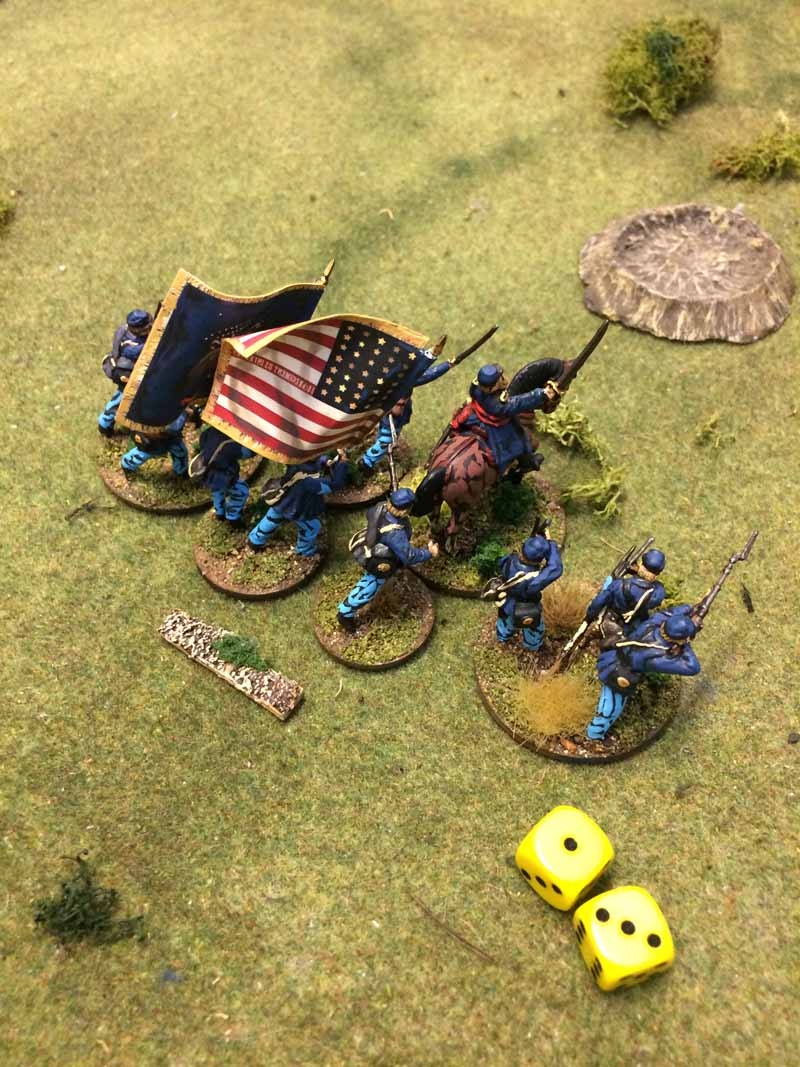
Victorious Officer |
Post-battle summary
It was a good game that I thought I would win, as I was sure David would not use his Skirmishers to screen his Line Infantry, or that he would form the Line Infantry into Close Order.
I was clearly far too eager to reach the fence with my Line Infantry, whilst David played his Line Infantry much more cautiously, keeping them away from Close Range and instead focusing on using his Artillery and Skirmishers to soften up my line before advancing to deliver a devastating Volley. Good tactics I must say, but I suppose he had a good teacher!
I hope this gave you a glimpse of how Rebels and Patriots works, and that even a bonus of +1 to your Activation roll can greatly increase your chances of success. It did not help me today, but it certainly helped David to one more victory!
Rebels and Patriots will be published on 24 January 2019, giving players wargaming rules for North America from the French and Indian War through to the American Civil War and beyond. Preorder your copy today!
Comments
You must be logged in to comment on this post. Click here to log in.
Submit your comment