
The following blog is taken from Jamie Gordon's dedicated blog for Outremer: Faith and Blood, his new rulebook and the latest addition to the Osprey Wargames series. Be sure to follow it for the latest news and information about the game, straight from the author himself!
So... Outremer: Faith and Blood is finally out at the end of this week... Hooray!! In fact some of you may have been lucky enough to pick up one of the early copies that Osprey made available at Salute 2018 in London last weekend.
It’s been a long (and sometimes emotional) journey but at long last the game is soon going to be available for people to play! With this in mind I thought I’d spend the next few posts taking a little look at the game and how it works.
First up we’ll take a brief look at Warband selection, followed by a slightly more in depth overview of fighter’s profile sheets and what they represent.
Once players have a chosen a suitable scenario then they need to engage in pre-battle prep by completing their fighters’ Profile Sheets.
Name - Clearly this is fairly important; in Outremer each of your fighters is a living breathing warrior; a hero or villain with their own background and personality. As such they deserve an appropriate name so that future historians may record their deeds!
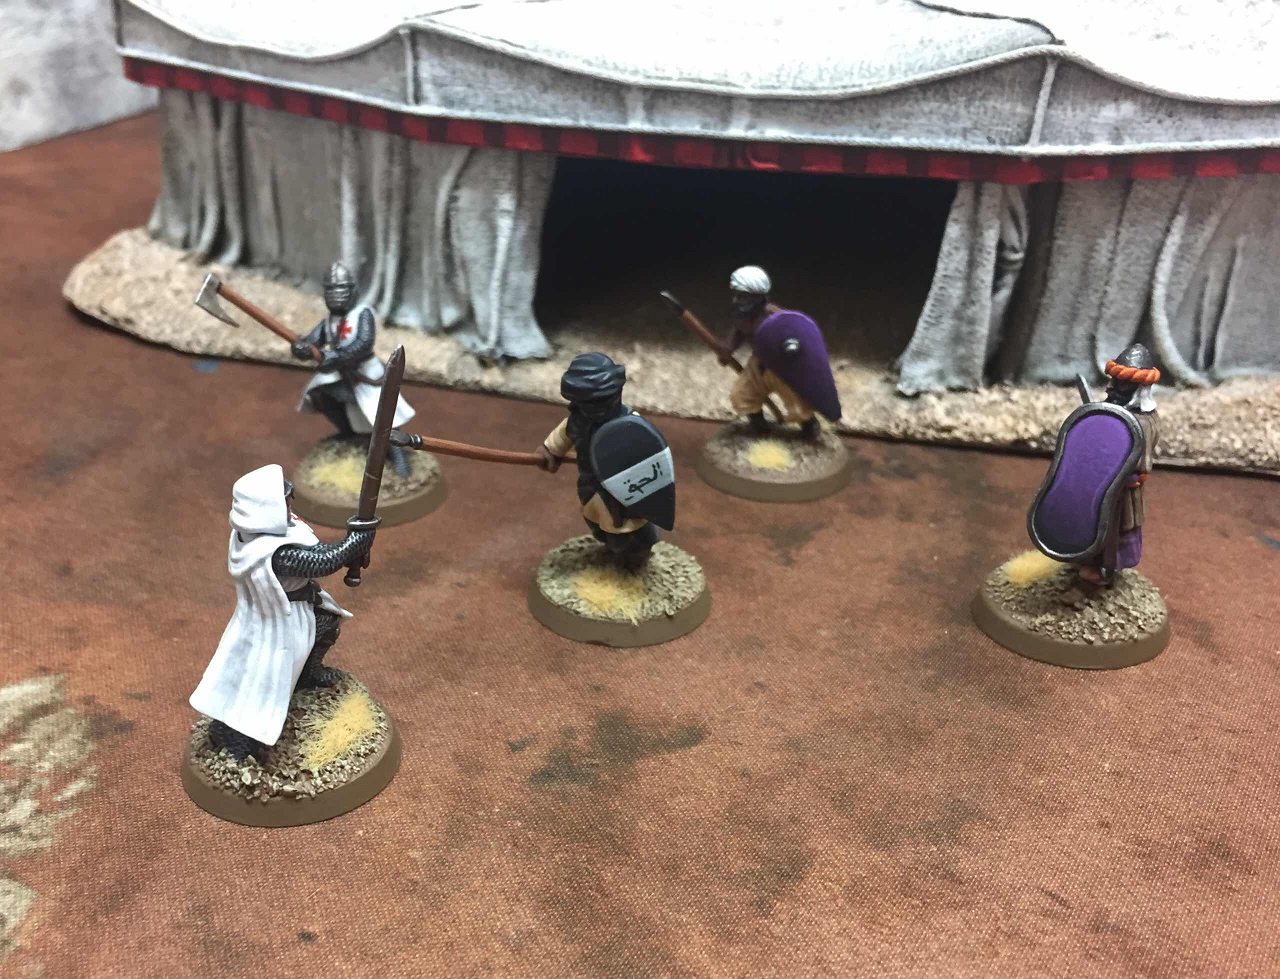
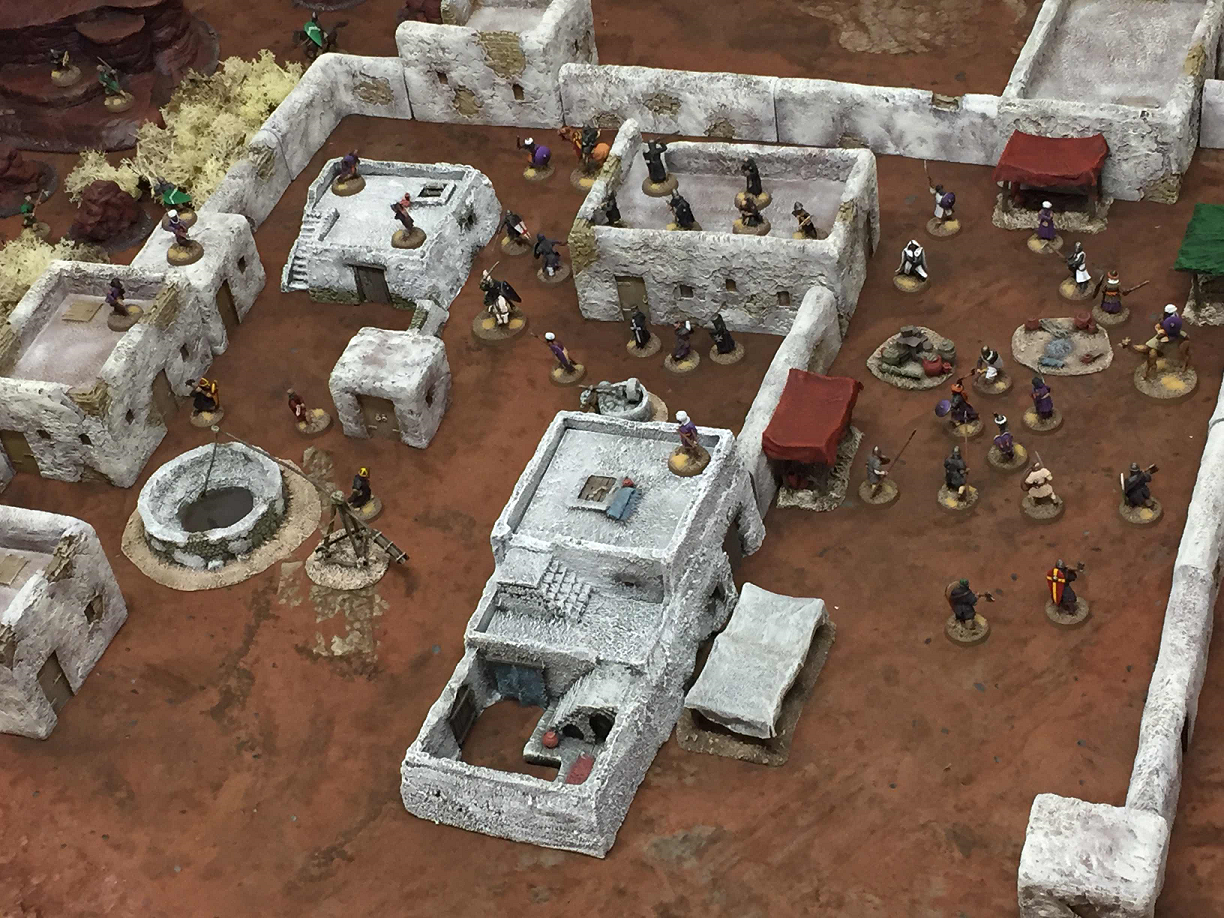
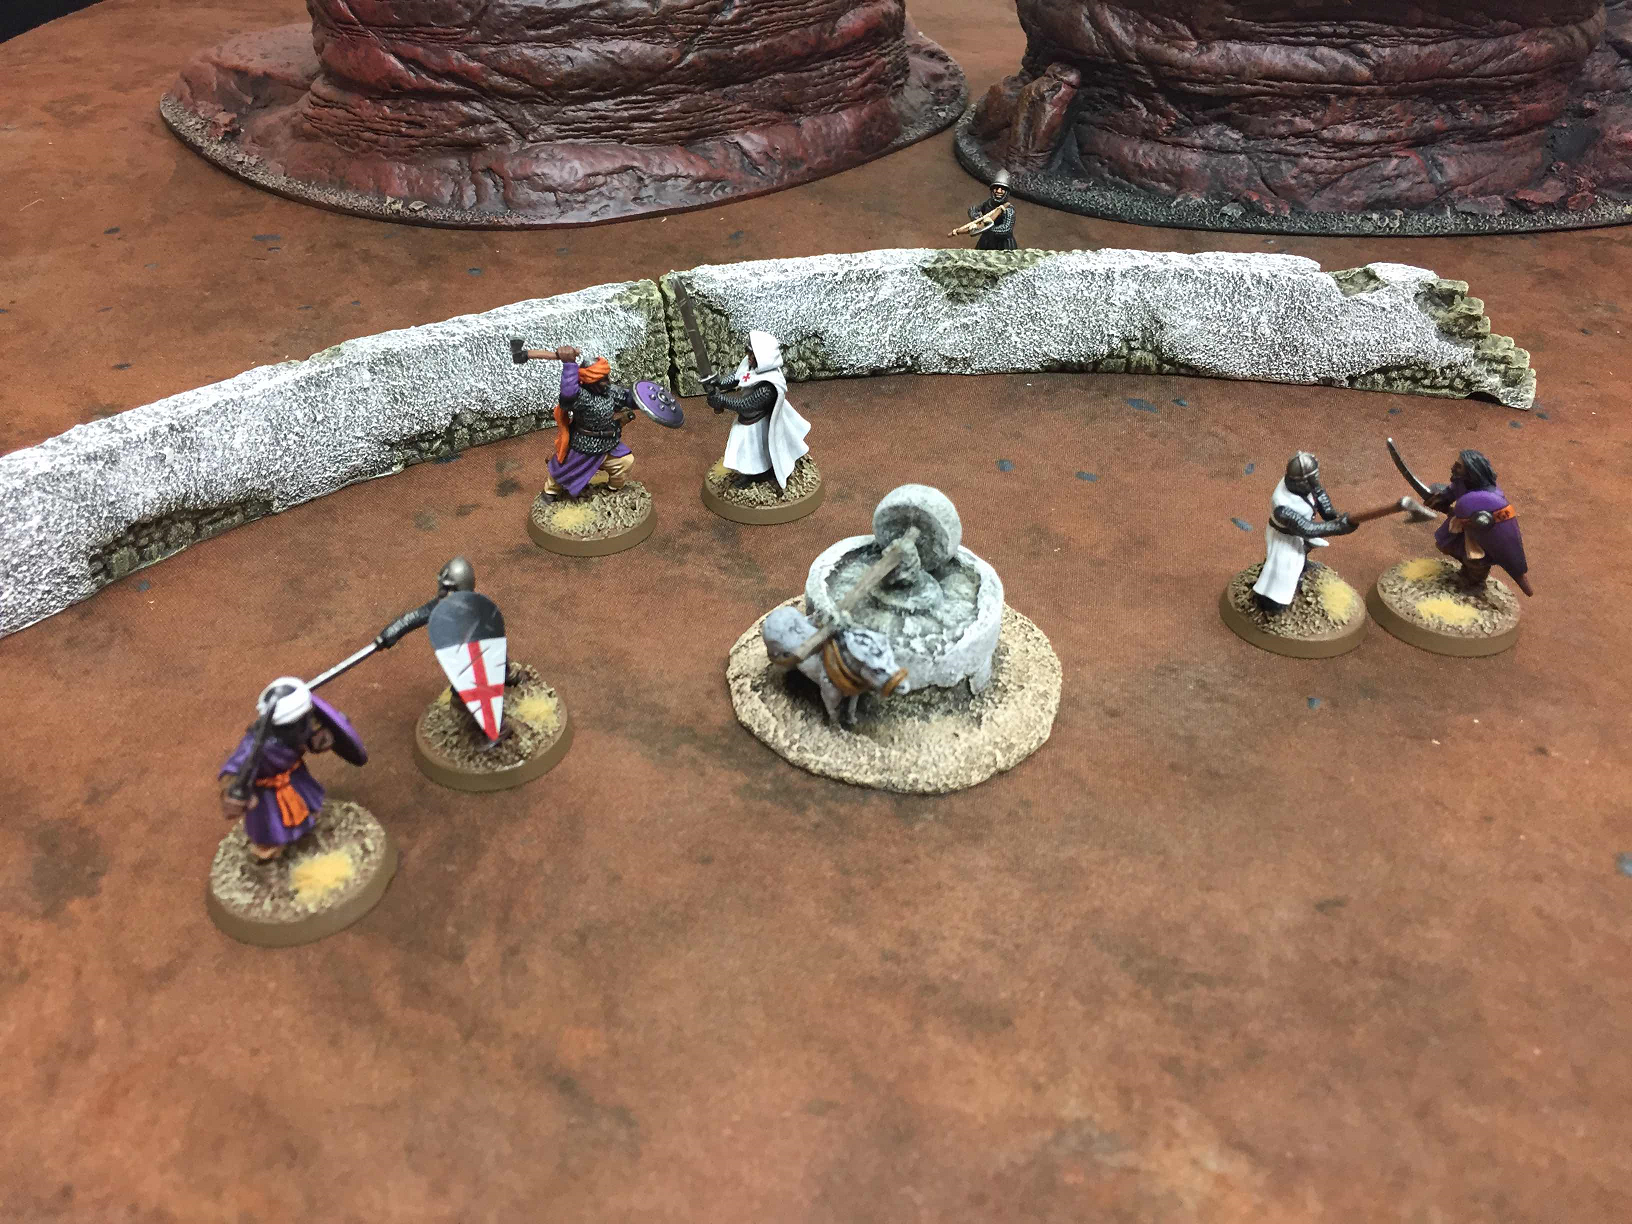
As we have previously covered players have three factions from which to recruit their Warbands from and these are the Saracens, the Crusaders and the Military Orders. Each of these factions possesses their own unique strengths and weaknesses but are overall they are quite balanced, and none suffer any particular disadvantage. Players recruit and arm their initial force up to a certain value in Livres (the game’s equivalent of ‘points’)... but they need to make sure that they leave enough funds in the bank to cover upkeep costs between battles!
Once players have their Warbands chosen and equipped then the next thing to do is find an opponent to play against and a scenario to fight. There are six scenarios in the book with further ones being released regularly in the assorted popular Wargames magazines. Each scenario is different and offers players a variety of tactical options and strategic considerations.
Once players have a chosen a suitable scenario then they need to engage in pre-battle prep by completing their fighters’ Profile Sheets.
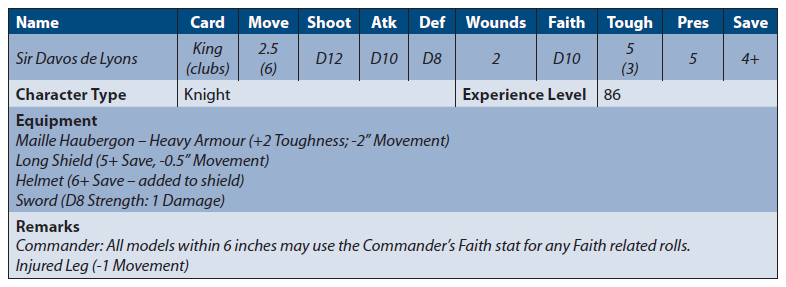
Each of their fighters will have one of these sheets which will show their profile and skills as well as any special abilities and equipment that they may have. These roster sheets are pretty important as they tell you everything you need to know about your fighter and also provide a handy canvas for you to record any factors affecting your model during the game. Let’s have a look at one:
Name - Clearly this is fairly important; in Outremer each of your fighters is a living breathing warrior; a hero or villain with their own background and personality. As such they deserve an appropriate name so that future historians may record their deeds!
Card - The unique activation system in Outremer means that each of your individual fighters needs to be allocated a specific card from a normal deck of playing cards. Note that card here.
Move - This is the distance in inches that your fighter can move. Obviously wearing heavy armour and carrying a lot of equipment will limit a soldier’s mobility and to reflect this in game terms their move distance will be reduced. Therefore the number shown at the top is the residual modified movement distance available whilst the number in brackets is what the unmodified distance would have been.
Shoot/Attack/Defence - A fighter’s skill in combat is reflected by the type of dice that they are able to throw when engaging in these types of activity. The more sides that the dice has then the more skilled the fighter is, so a D10 is better than a D8, etc.
Wounds - This is simply the number of injuries a warrior can endure before they are finally taken down.
Faith - At certain points during the game fighters will be required to take Faith Tests, especially if they are attempting to try something precarious or if they are in a dangerous position. This is the type of dice that they can utilise to undertake that Faith Test; again the more sides the better!
Toughness - Simply put this stat is a numerological representation of just how durable a fighter is. This stat can be improved by the wearing of armour and the figure without brackets shows the final modified value.
Presence - This is a combination of a warrior’s prowess; reputation and frankly how bloody scary they are to opponents. This will primarily be used when fighters are attempting to charge each other in melee.
Save - Certain items of equipment (predominantly shields and helmets) can provide a fighter with a saving throw against both ranged and melee attacks. The cumulative value of these is recorded here.
Character Type - This shows what type of warrior this model is; there are many types of fighter in Outremer: Faith and Blood ranging from lowly peasants through to the terrifying Knight-Commanders
of the Military Orders.
Experience Level - As your fighters take part in battles and the campaign progresses they will start to gain valuable experience. This experience can then be used to purchase upgrades or additional skills that will make the fighter far more deadly in future encounters. In this manner a fairly weak peasant farmer can gradually grow over time to become a semi-professional militia levy; before eventually becoming a fully-fledged professional soldier... provided he survives of course.
Equipment - This lists the items of equipment carried by this particular model and the effects that they have. Fighters can swap out or upgrade kit between games as you acquire more deadly weapons with which to arm them.
Remarks - This is the collection of miscellaneous rules affecting this particular warrior. Perhaps he has picked up some valuable skills that make him a better leader during battles... or alternatively the lingering effects of an early injury may impair his performance during melee!
That’s it for model’s profiles and warband selection... next time I’ll take a look at the game’s unique activation process!
Order your copy of Outremer: Faith and Blood on the store today, and be sure to follow Jamie's Outremer blog for more information about the game!

Comments
You must be logged in to comment on this post. Click here to log in.
Submit your comment